
Introduction to Adhese for Adops (Campaign Manager - Managed)
This page will take you through the process of creating a campaign in Adhese's Campaign Manager UI from A to Z. We'll start with the basic layout and options of the Campaign Manager interface before moving on to creating a new campaign, bookings and creatives.
Campaign screen
When you log into Adhese using the Campaign Manager interface, the first thing you will see is the Campaigns screen:
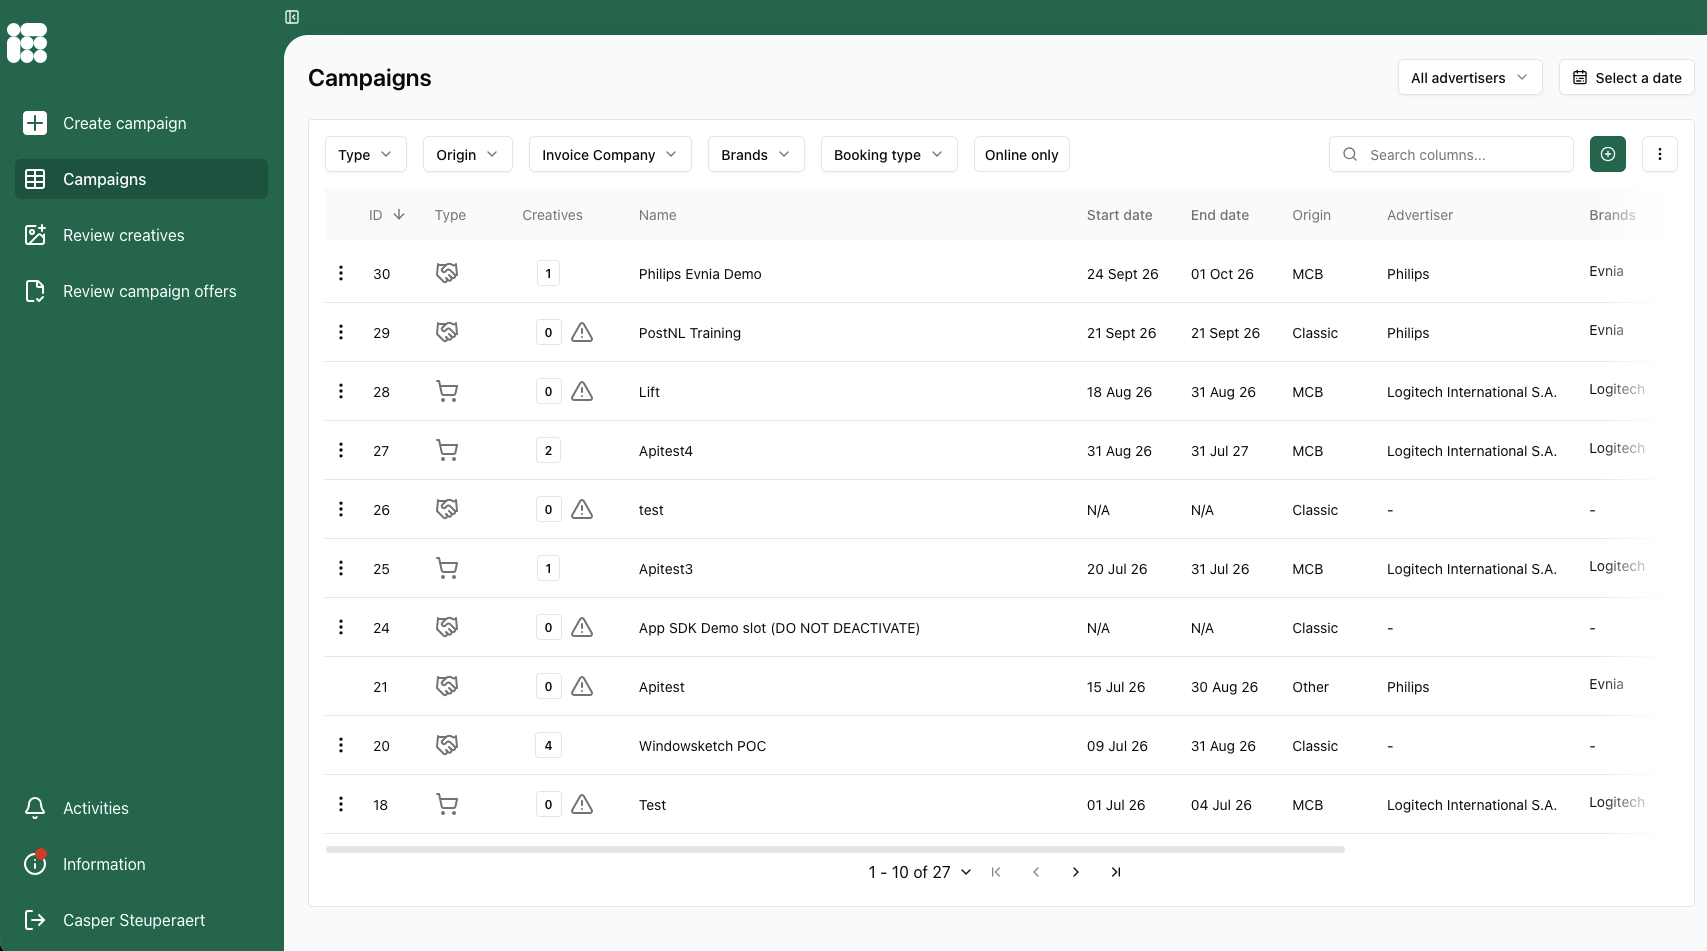
Use the open/collapse selector  at the top of the screen to open the sidebar with text next to the icons.
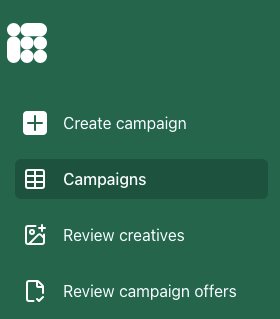
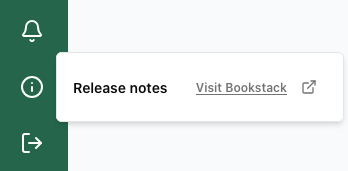
 The sidebar menu contains the following links:
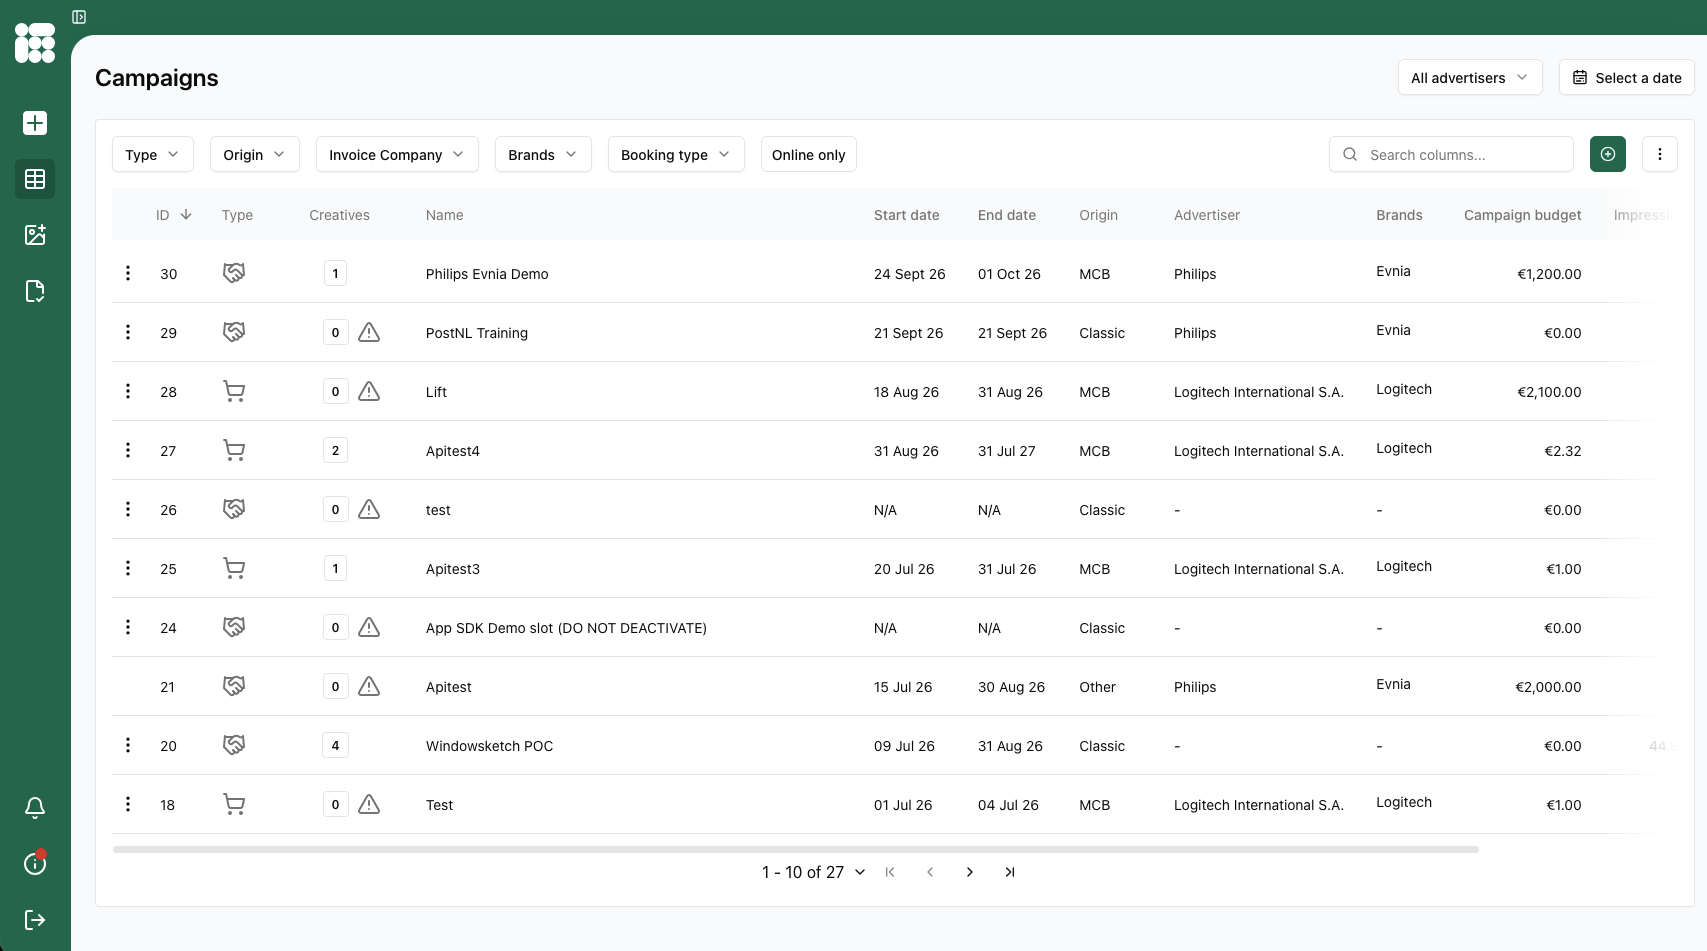
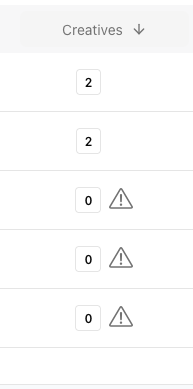
Columns that can be highlighted can be sorted. Columns with numbers can be sorted from smallest to largest or vice versa:
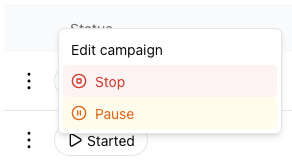
To the left of the campaign status, there are three dots. Here you can click through to edit existing campaigns:
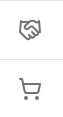
The icons to the right of the campaign status indicate the type of campaign: either managed (the first icon) or self service (the second icon).
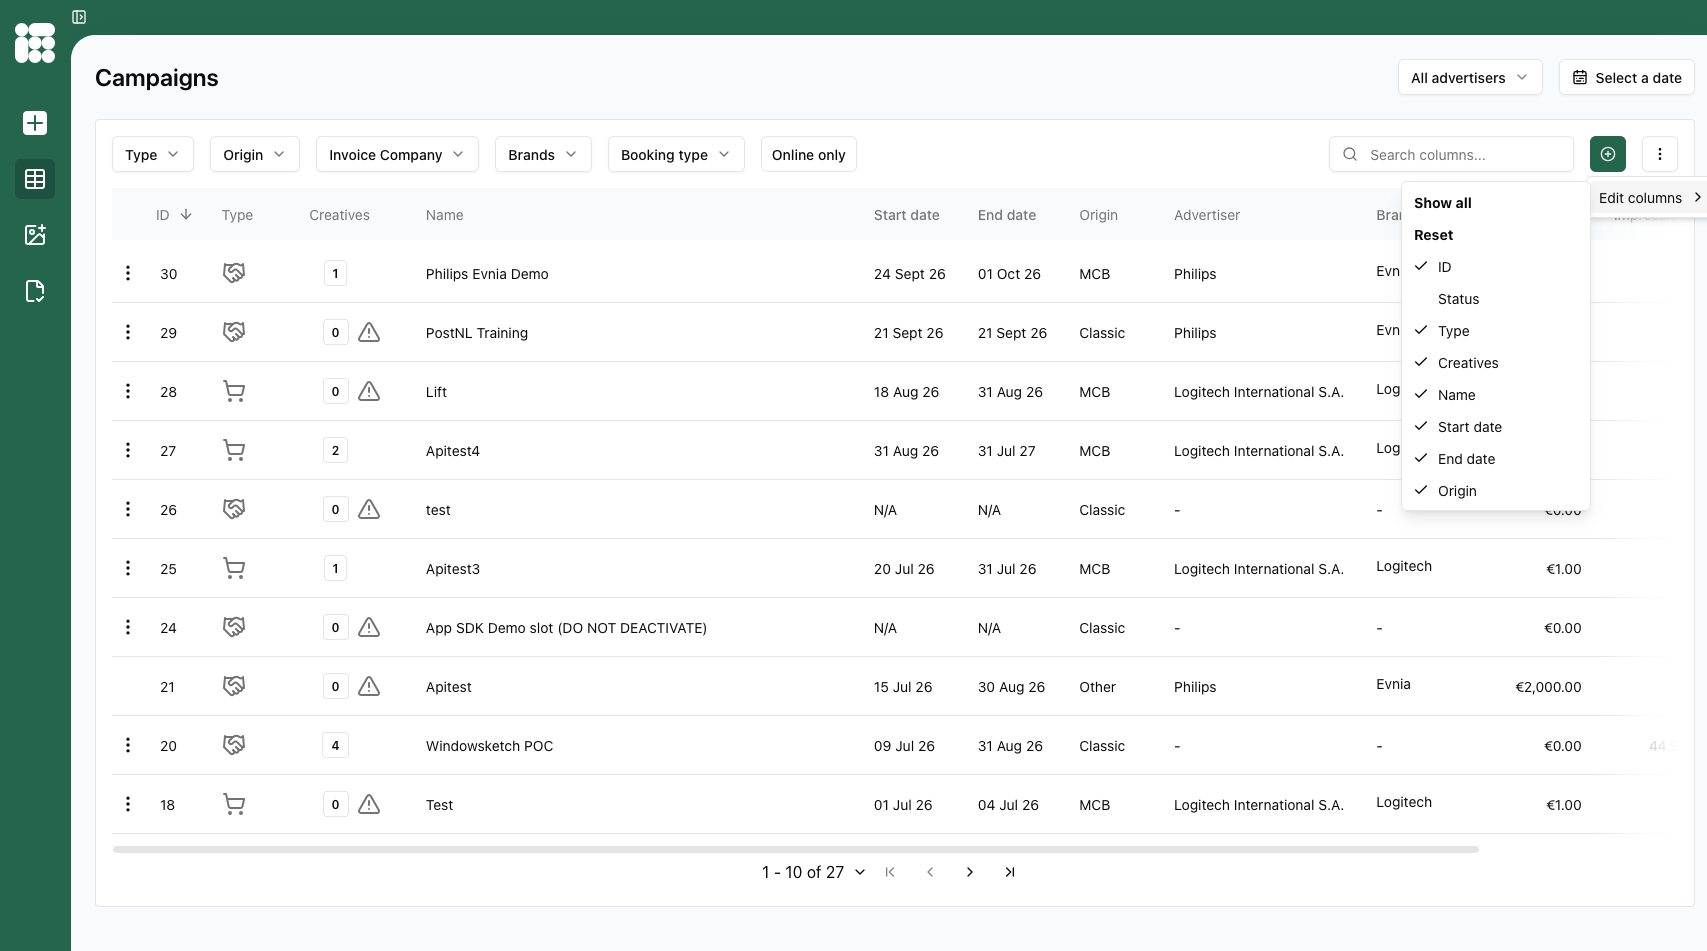
The Campaigns screen lists campaigns and several columns of information about those campaigns. The columns can be customised, and columns can be selected and deselected:

On the bottom of the page you can go to the next page of the campaign screen, go to the last page or change the amount of campaigns displayed on one page.
Filters in the campaign screen
There are the following campaign filters available above the campaigns:
- Campaign type (managed or self service)
- Campaign Origin (e.g. Classic UI, Campaign Manager, Advendio)
- Invoice Company
- Brand
- Booking type (display, In-store, sponsored products)
- Online only (currently active)
On the top right you can filter campaigns based on the advertiser:
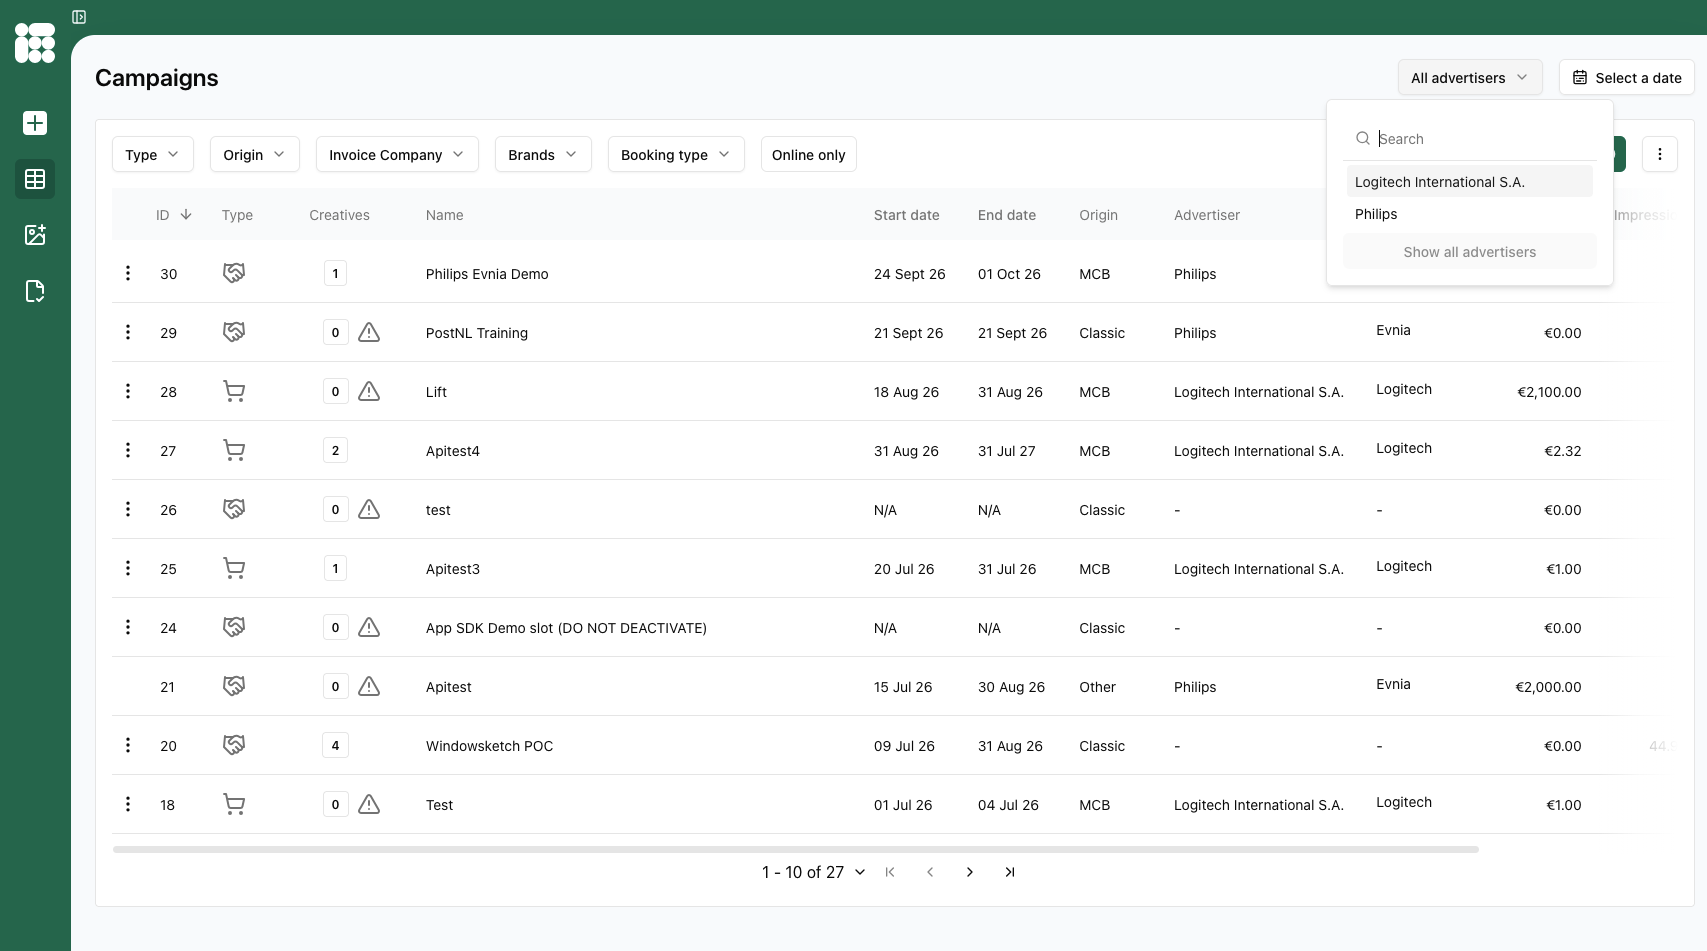
Next to the filter on advertiser you can filter campaigns based on date, with some quick filters available as well:
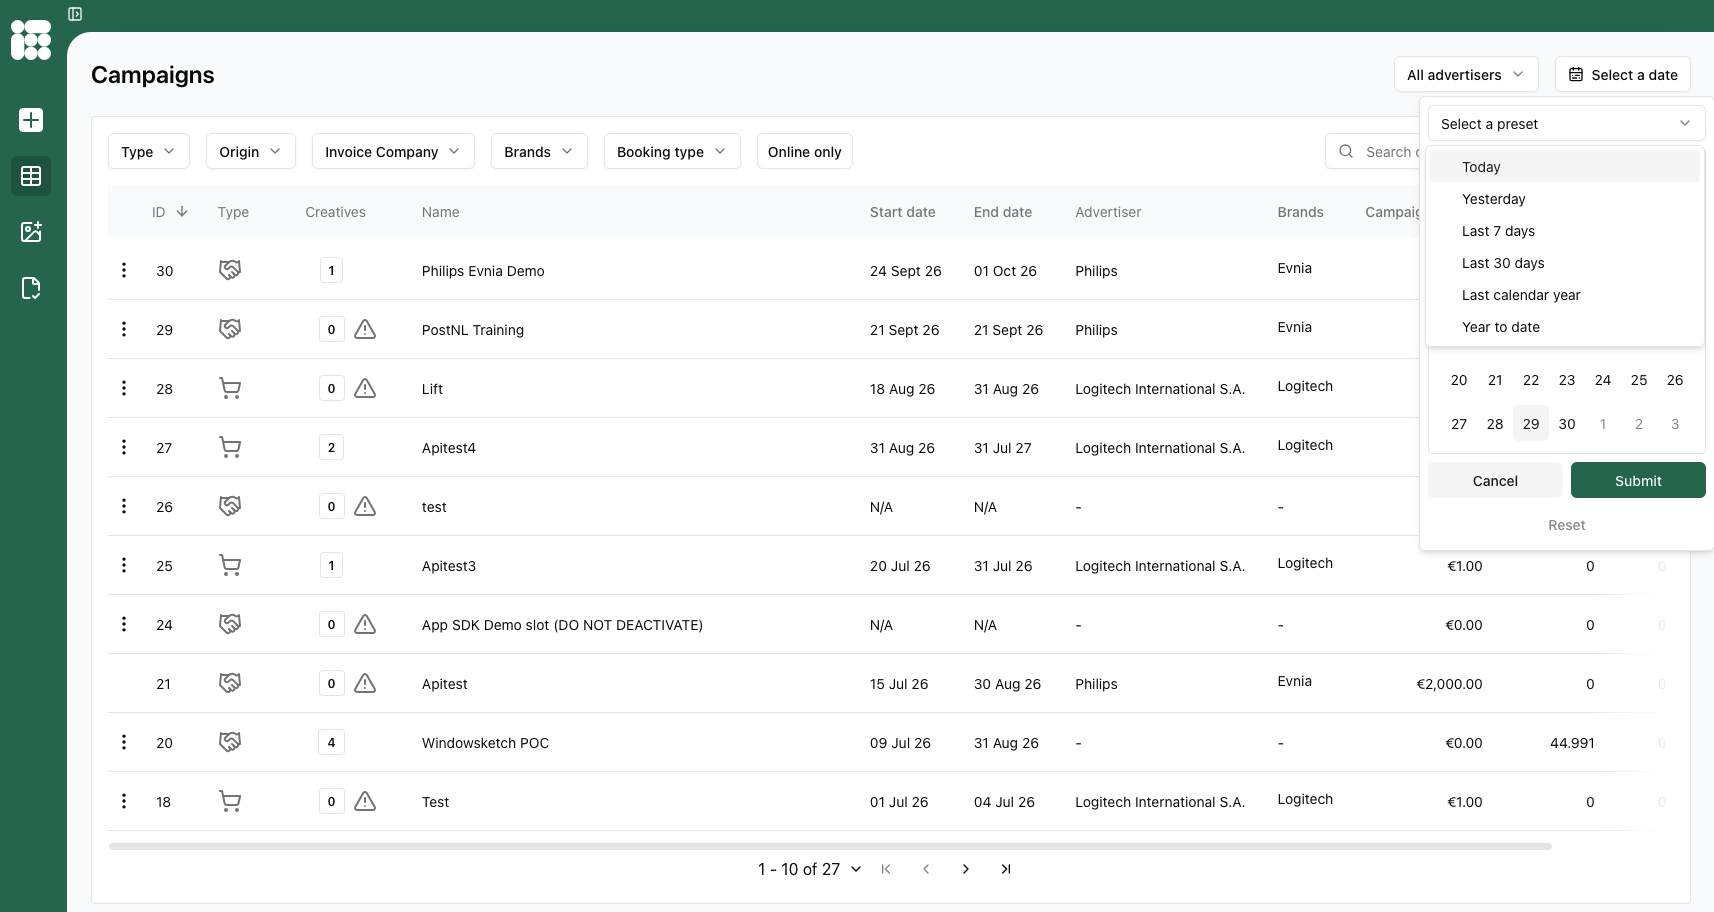
Creating campaigns
To create a campaign, click the + symbol on the sidebar or the + symbol next to the search bar.
When you click on the create a campaign button, you will land on the Create campaign form.
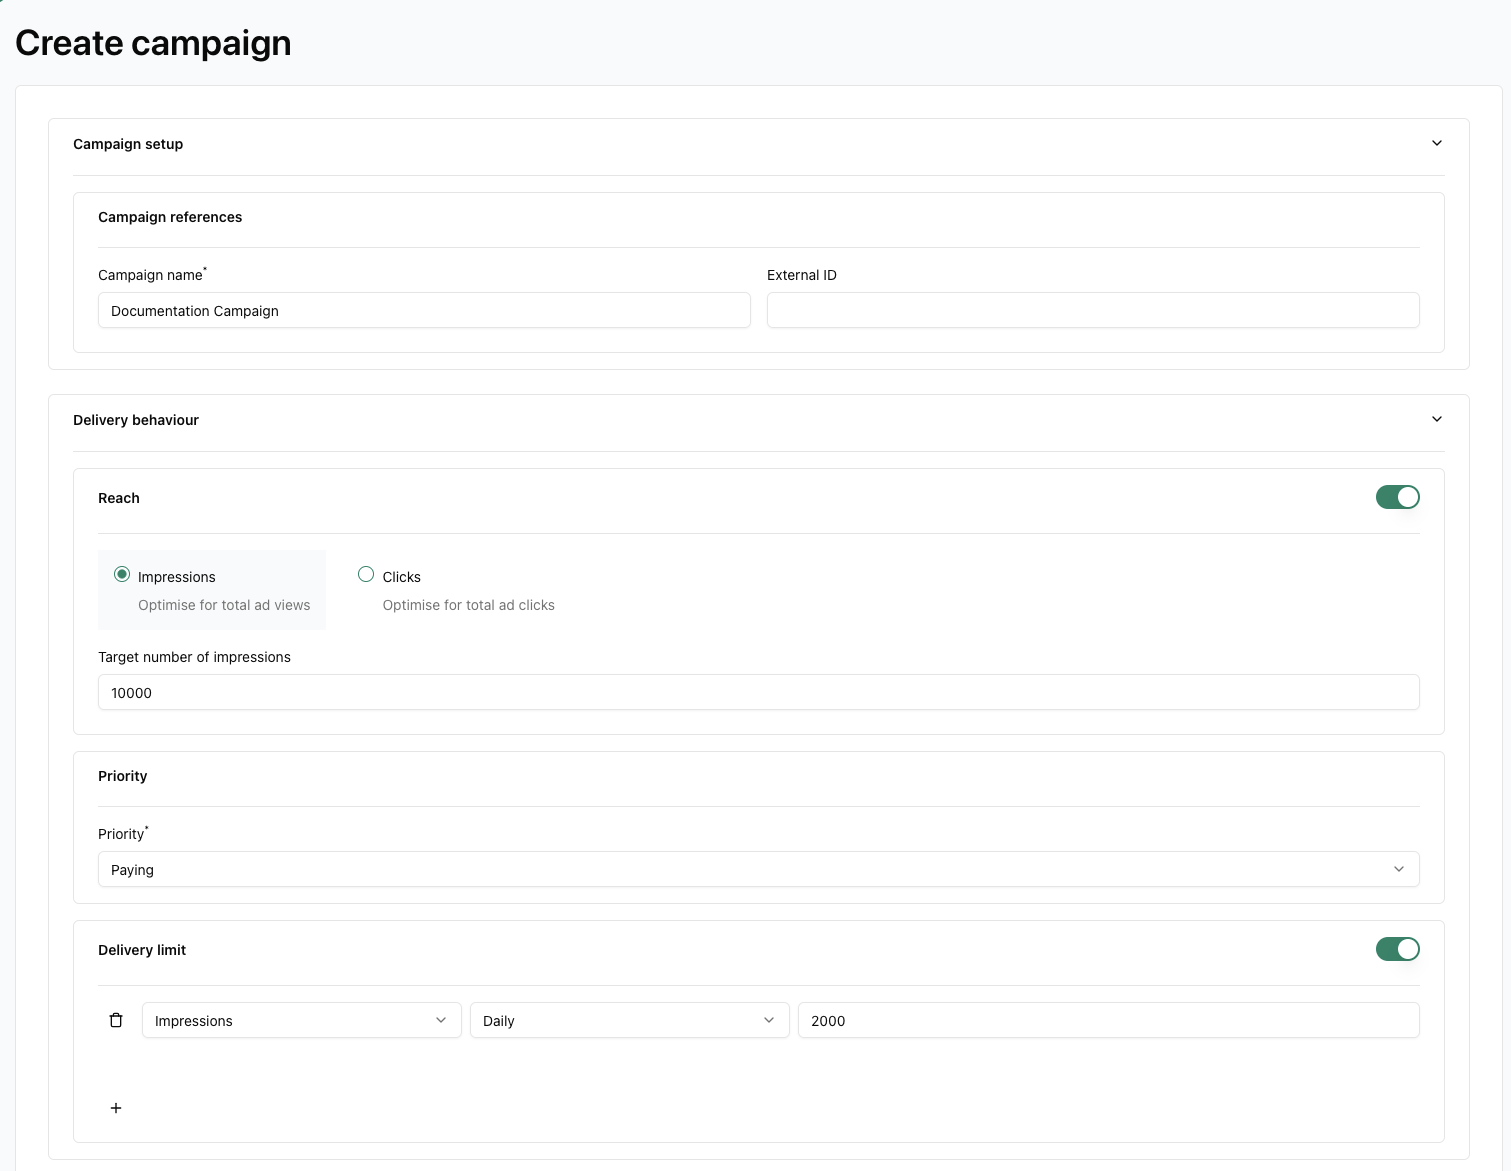
There are several fields and toggles. From top to bottom:
- Campaign name: This is the only necessary field for creating a campaign.
- External ID (optional): metadata field that can be used to link to, for example, CMS systems.
- Reach: either impressions or clicks. The campaign will end when the target is reached. Reach is optional and can be set after toggling the option.
- Priority: Here you can set the priority of the campaign. A campaign with a higher priority will take absolute precedence over lower-priority campaigns.
- Delivery limit: You can set a delivery limit in impressions or clicks, daily or hourly. You can add more limits by clicking on +. You can delete a limit by clicking the trash can icon to the left of the limit. The option needs to be toggled before it can be used.
- Budget: You can set a campaign budget. This will act similarly as a to reach goal. If the campaign budget is spent on its bookings, the campaign will stop.
- Internal note: You can leave a note with instructions or important info on the campaign for a colleague.
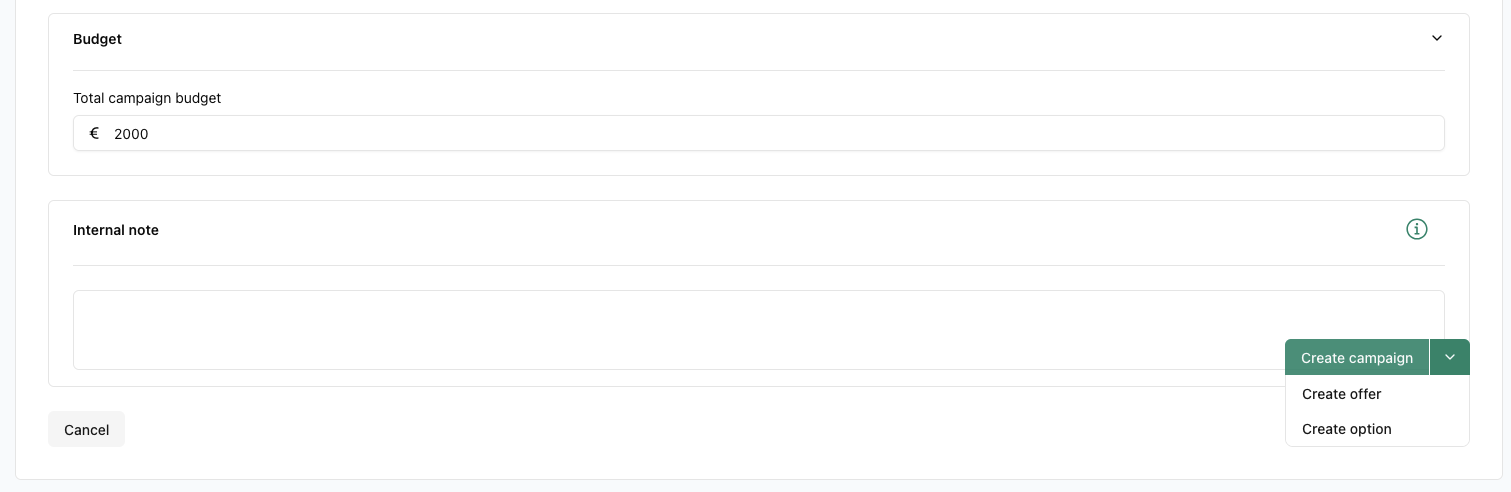
When you're done with the campaign setup, you can either save the campaign or save it as an offer or option.
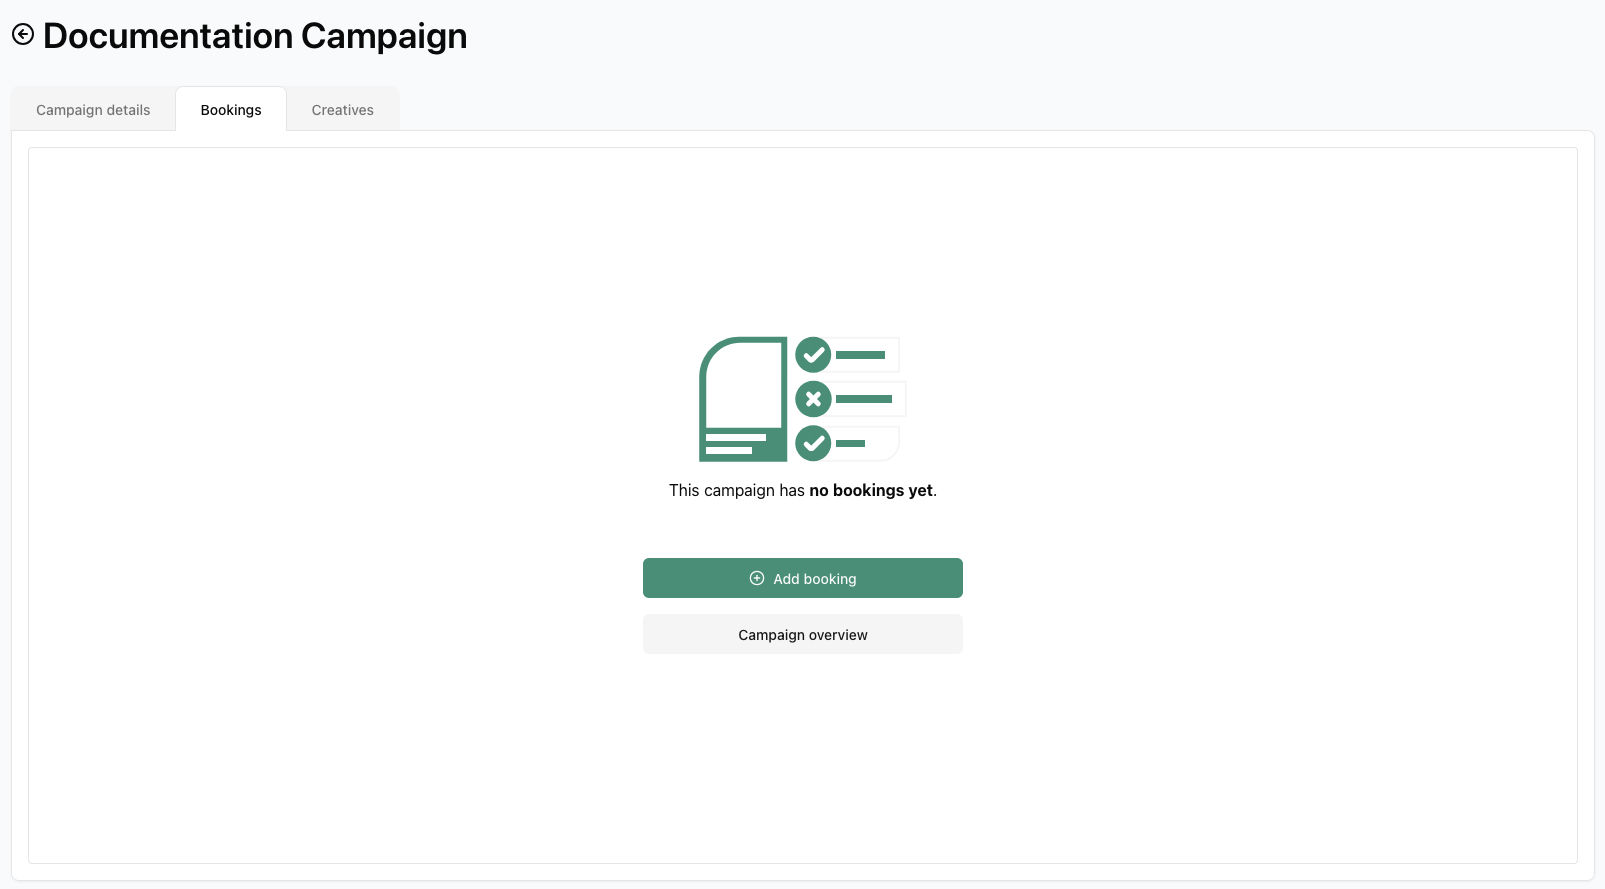
After saving, you will land on the booking overview screen.
Creating bookings
You can either create a new booking by clicking on Add booking.
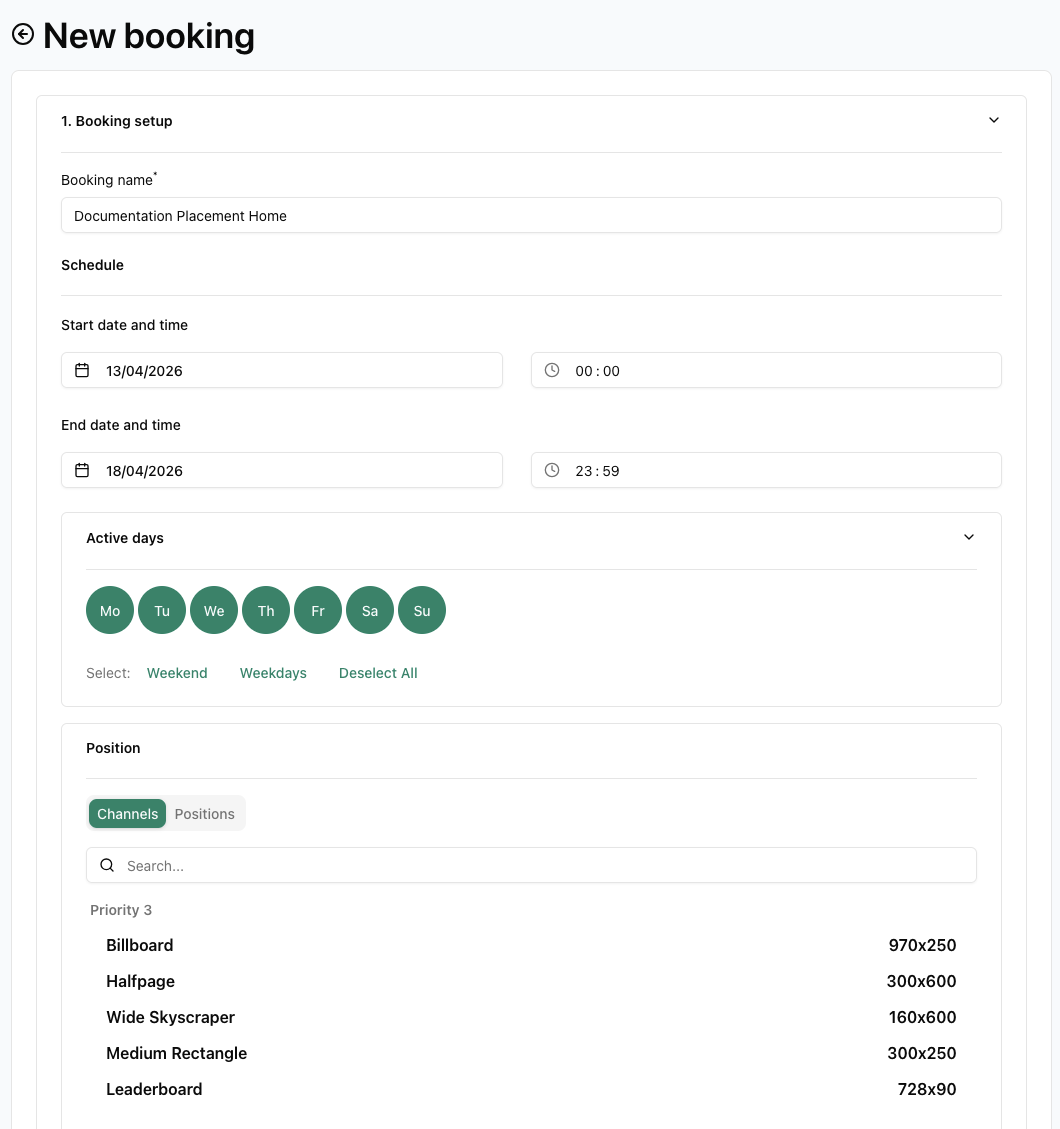
There will be several fields and toggles in the booking form, from top to bottom:
- Booking name: required when creating a booking.
- Start/end date and time: Select the date and hours at which the campaign will start and end.
- Active days: Here, you can set which days of the week the booking will run. With quick select options for the weekend or weekdays.
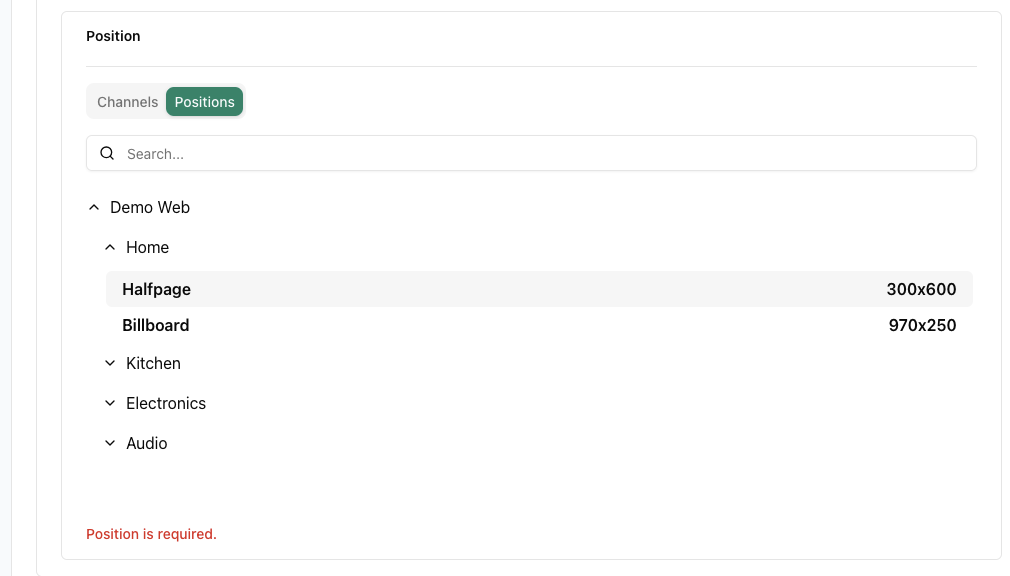
- Position: You can select either channels or individual positions. Channels are sorted per format, while positions follow a publisher>publication>position format.
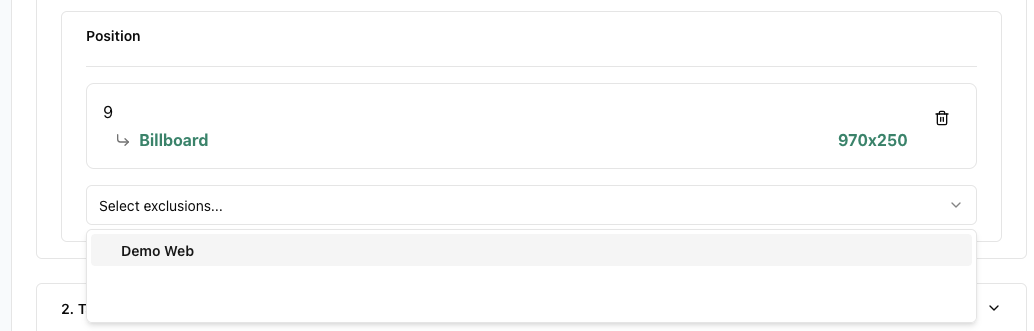
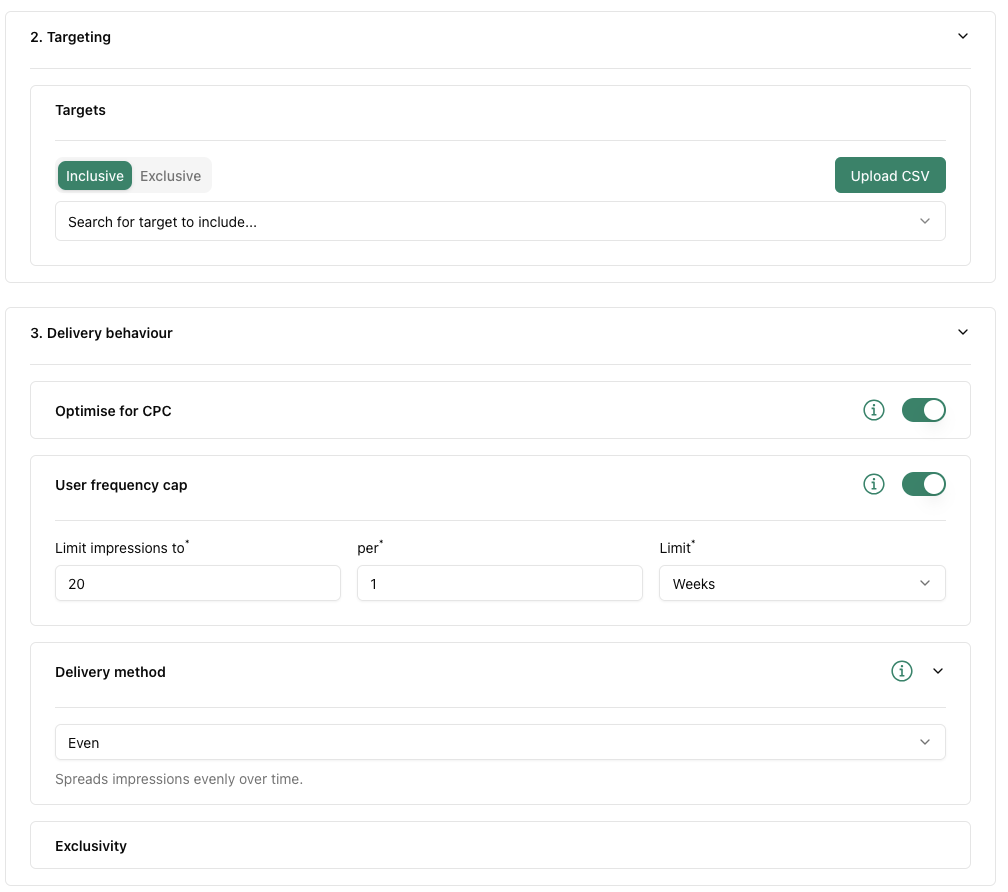
- Targets: You can select inclusive (the target must be present in the request for booking to deliver) or exclusive (the target must not be present in the request for booking to deliver). You can also upload a CSV file with target IDs in a single column to bulk activate targets. If you want to use this option but are not sure how, please contact support.
- Optimise for CPC (Cost per Click): This option gradually shifts the weight of a creative when two or more creatives are trafficked to a single booking. The better-performing creative (clicks-wise) will be shown more often until its weight is in line with the percentage of clicks it receives. This can increase a booking's CTR (Click-Through Rate).
- User Frequency Cap: This option can limit how often a booking is shown to a contact (i.e., a unique user). The limit can be set per hour, per day, or for the rest of the bookings' duration.
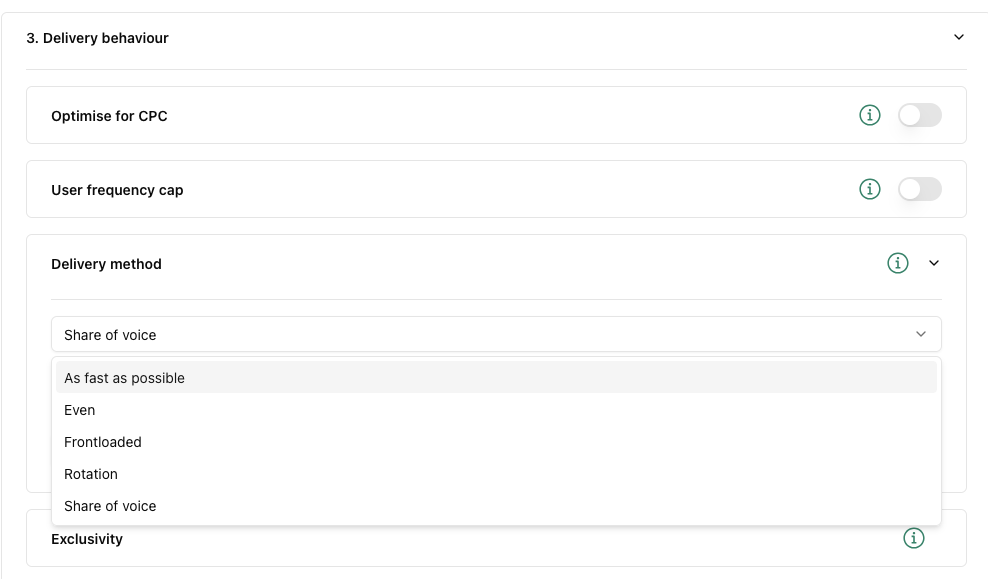
- Delivery method: Here, you can decide how the booking will be delivered. Even, Frontloaded and As fast as possible are options in which Adhese calculates delivery based on forecasting, with varying amounts delivered in the first and second halves of the booking period.
- Even: 50%/50%
- Frontloaded: 62,5%/37,5%
- As fast as possible: 75%/25%
- SOV (Share of Voice): You assign a fixed amount of inventory to the booking, expressed as a %. Actual delivery will depend on competing bookings.
- Rotation: Rotation ensures that competitive bookings with the same priority and delivery method have an equal chance of being delivered.
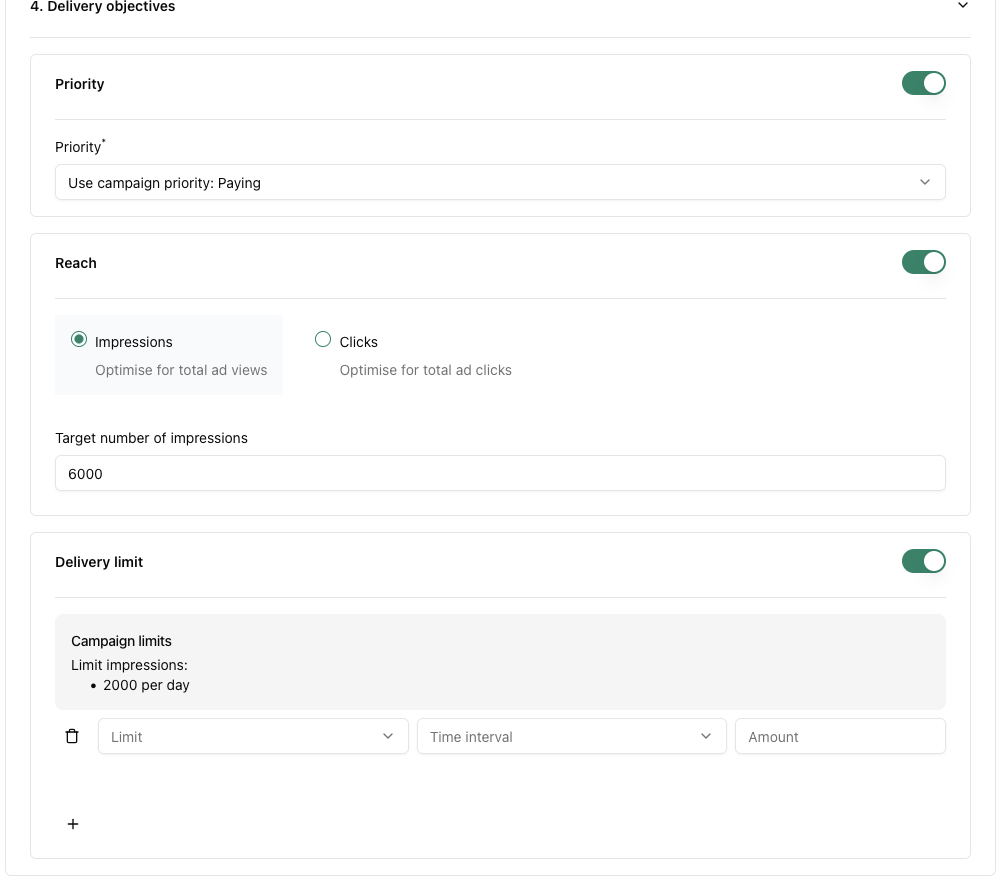
You can override the Campaign priority on booking level.
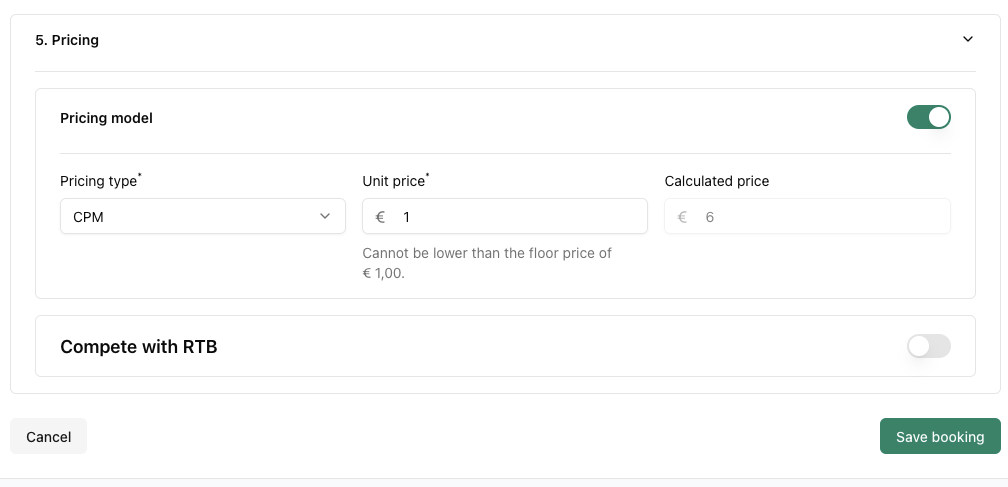
If your booking has all the required settings, click Save Booking in the bottom right corner. This will take you back to the booking screen.
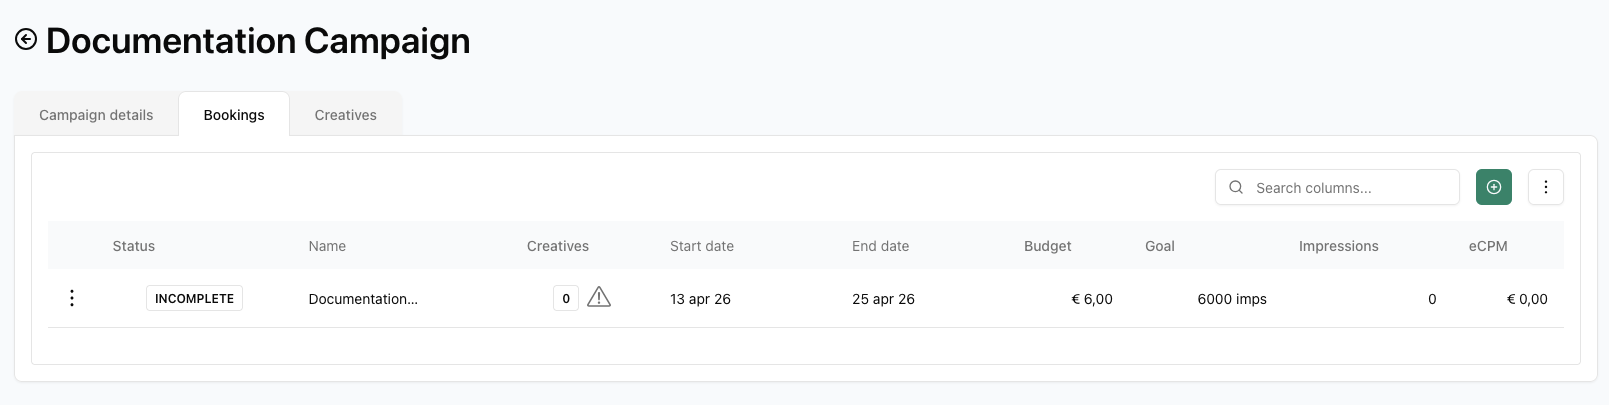
Here you have an overview of all the bookings you created. You can create additional bookings by clicking on the + symbol:
Once you have completed your bookings, click the Creatives tab to the right of Bookings to add creatives to your campaign.
Creating creatives
Please note that creatives in the Campaign Manager UI can only be uploaded with an Advar template.
Clicking on the Creatives tab will take you to the Creatives screen:
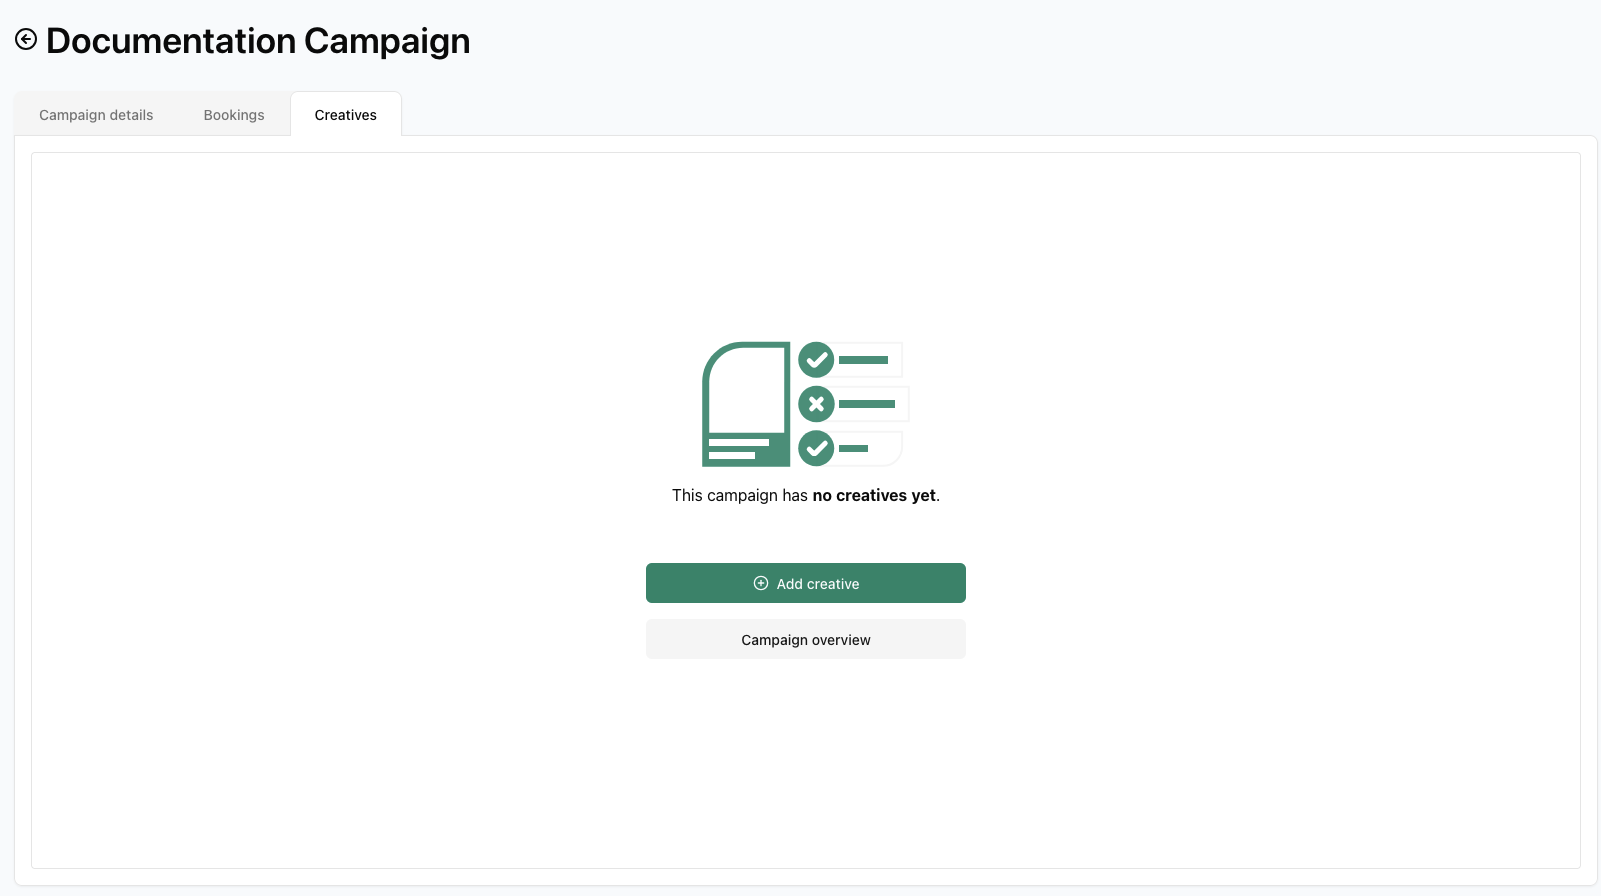
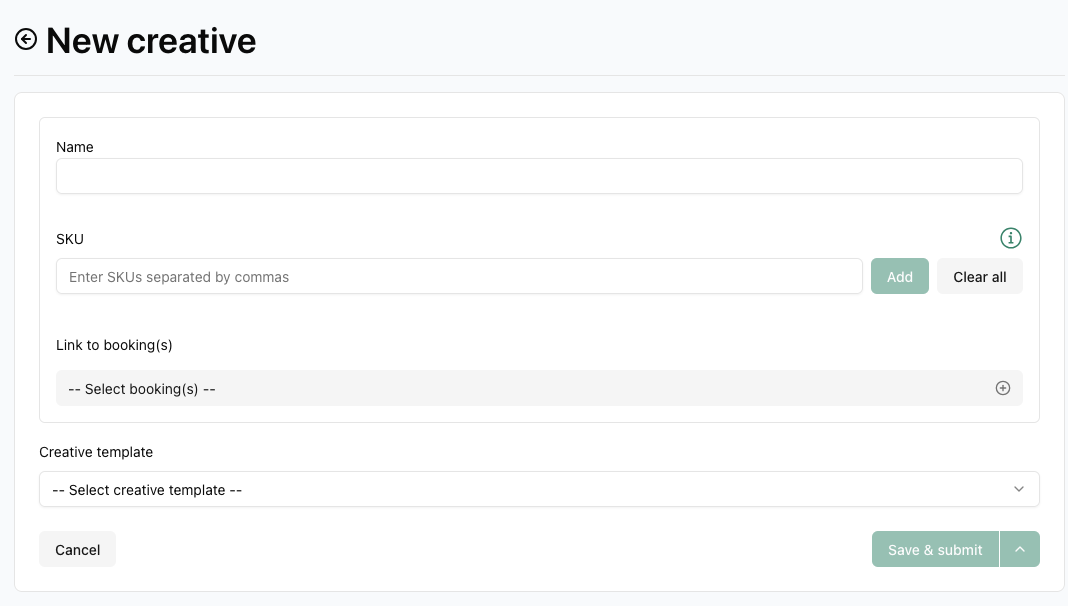
You can add a creative by clicking on Add creative In the next step, you can select the creative type, fill in the details and traffic the creative to a booking:
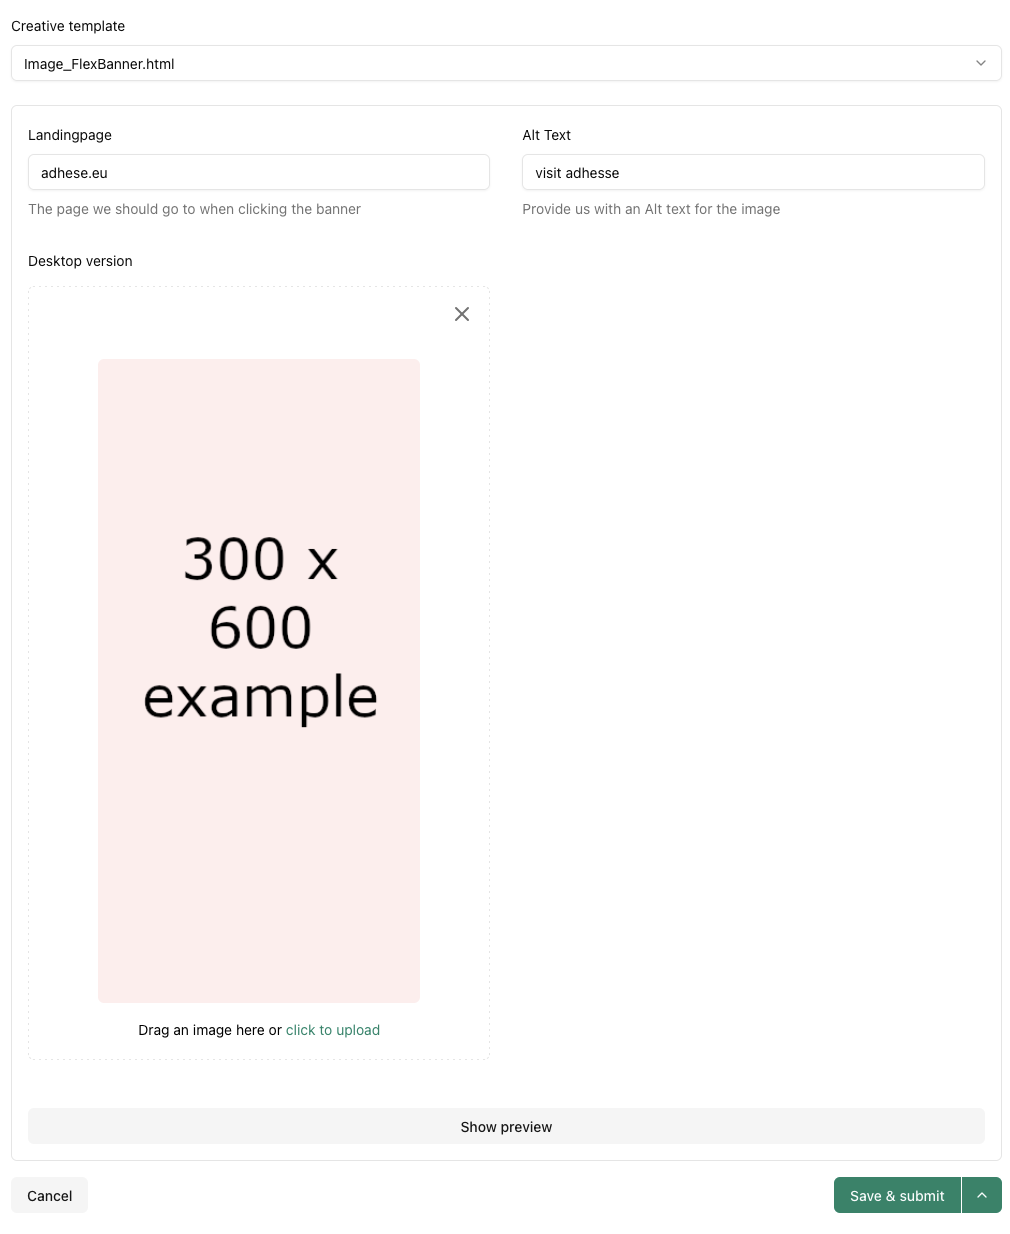
The fields you must complete are determined by the Advar template selected:
In the Link to booking(s) dropdown, you can select which bookings to traffic the creative to:
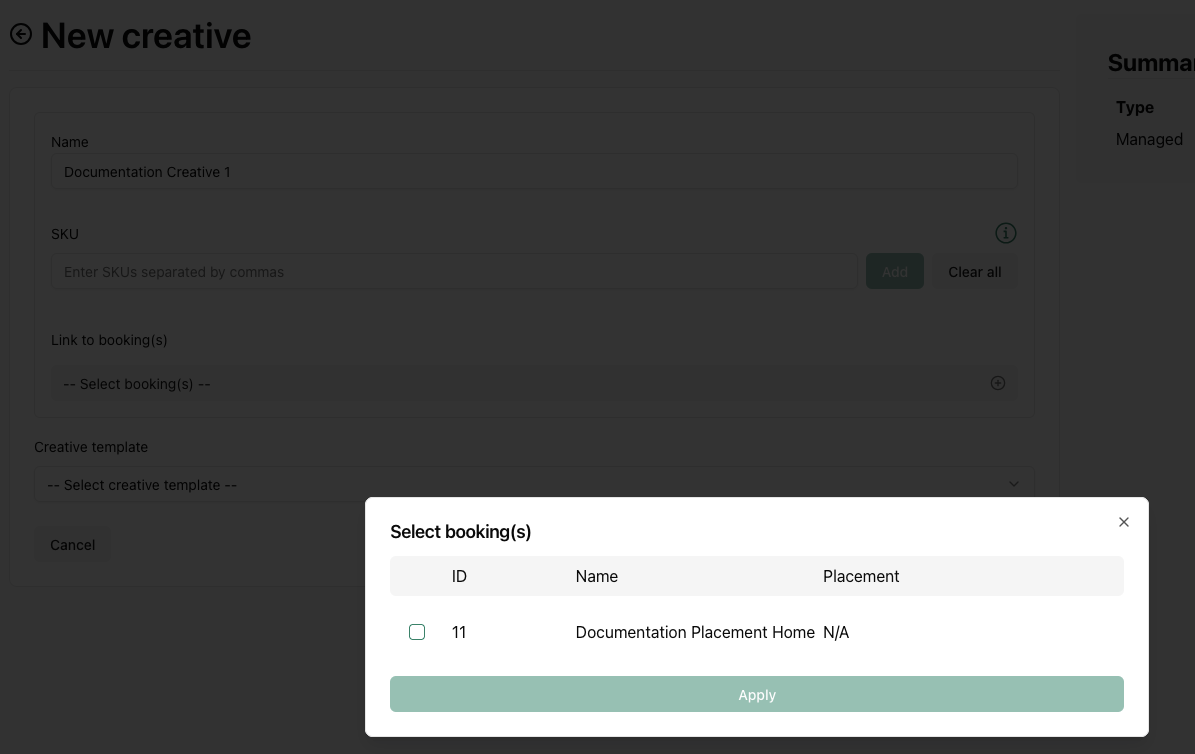
If you choose to preview the creative via Show preview, you will be prompted to save it first.
Once everything is filled in, you can click the Save & Submit button.
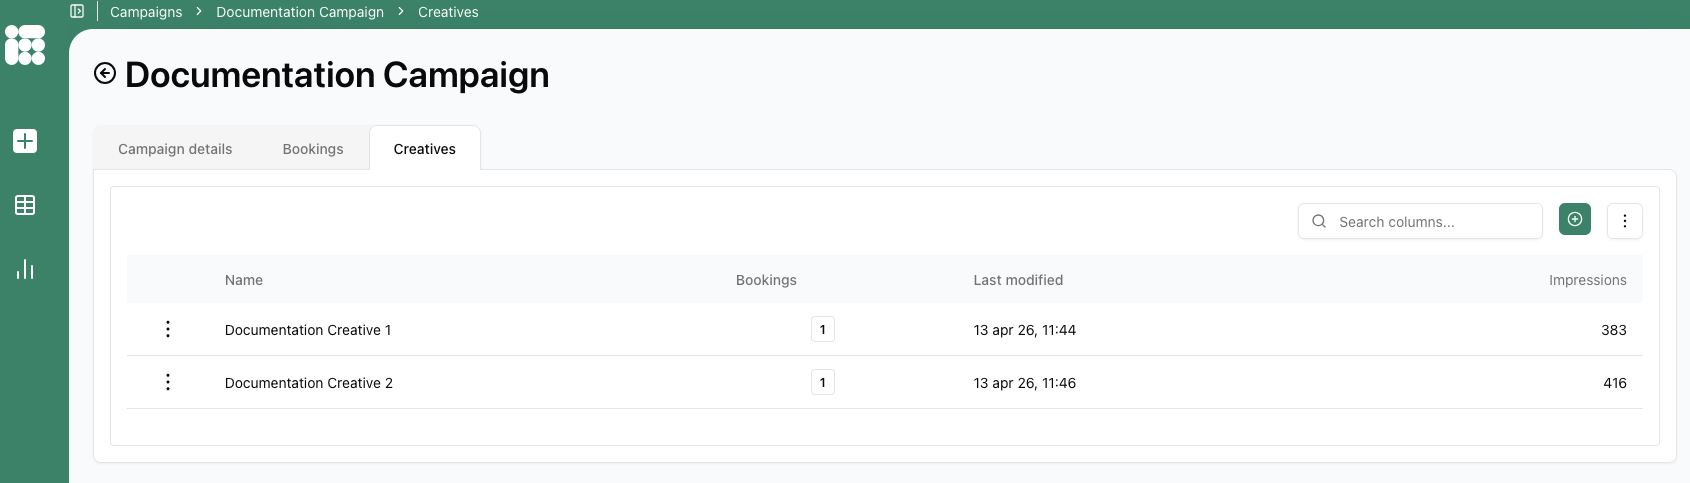
When you create creatives, they are listed in the Creatives tab:
Reporting
Campaign, booking and creative reporting can be found in the campaign reporting tab:
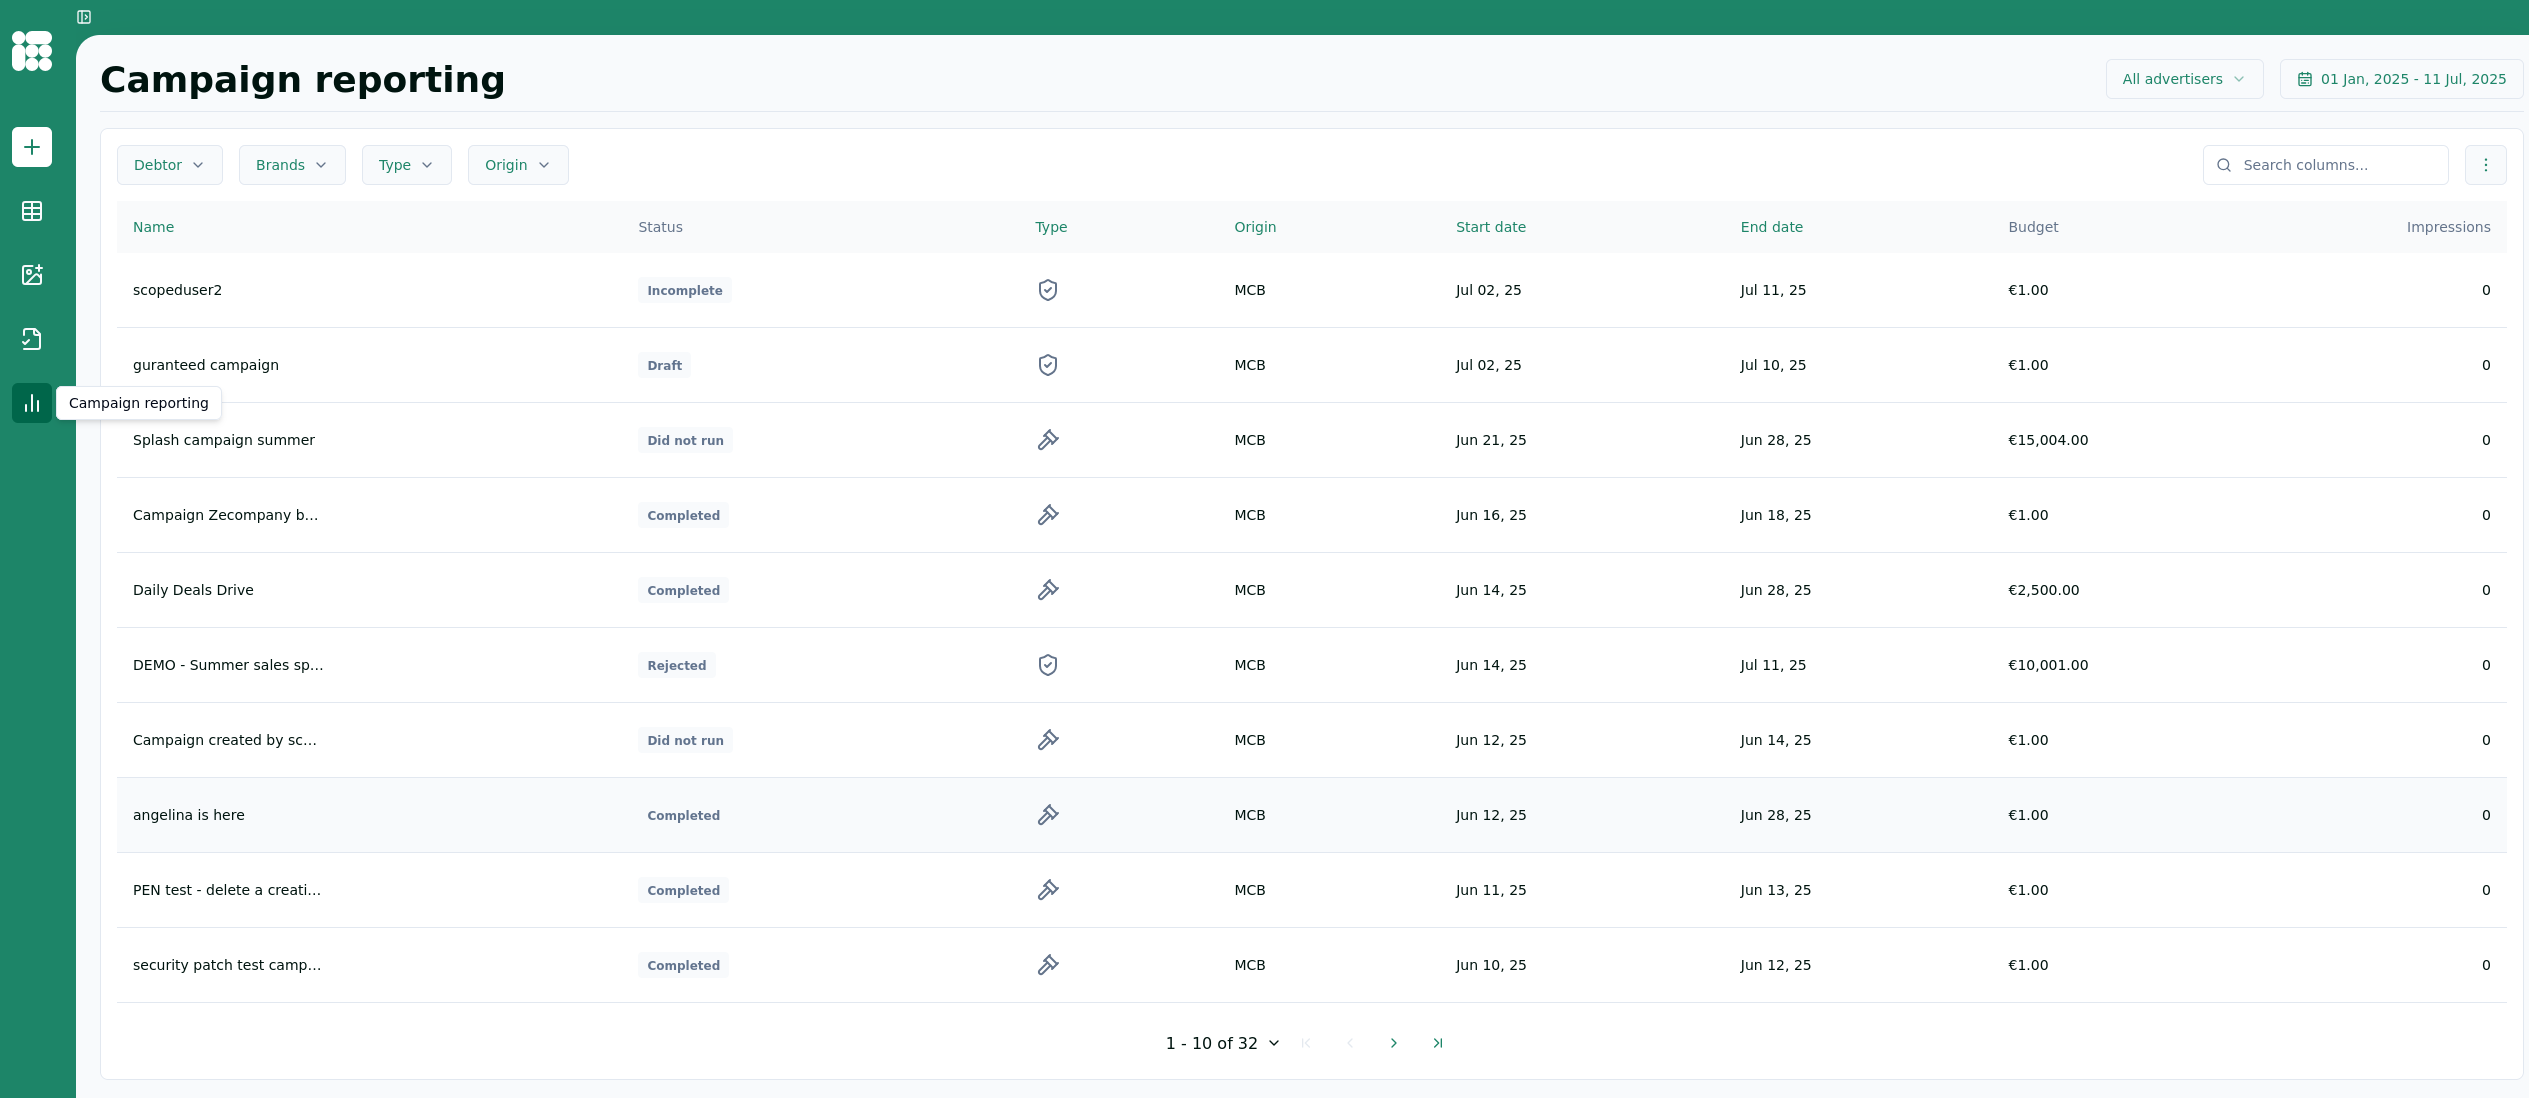
Here, you are presented with a list of campaigns that you can select to view the report. There is also a set of filters at the top left that you can use to filter out specific campaigns.
A campaign report is generated when a campaign is selected:
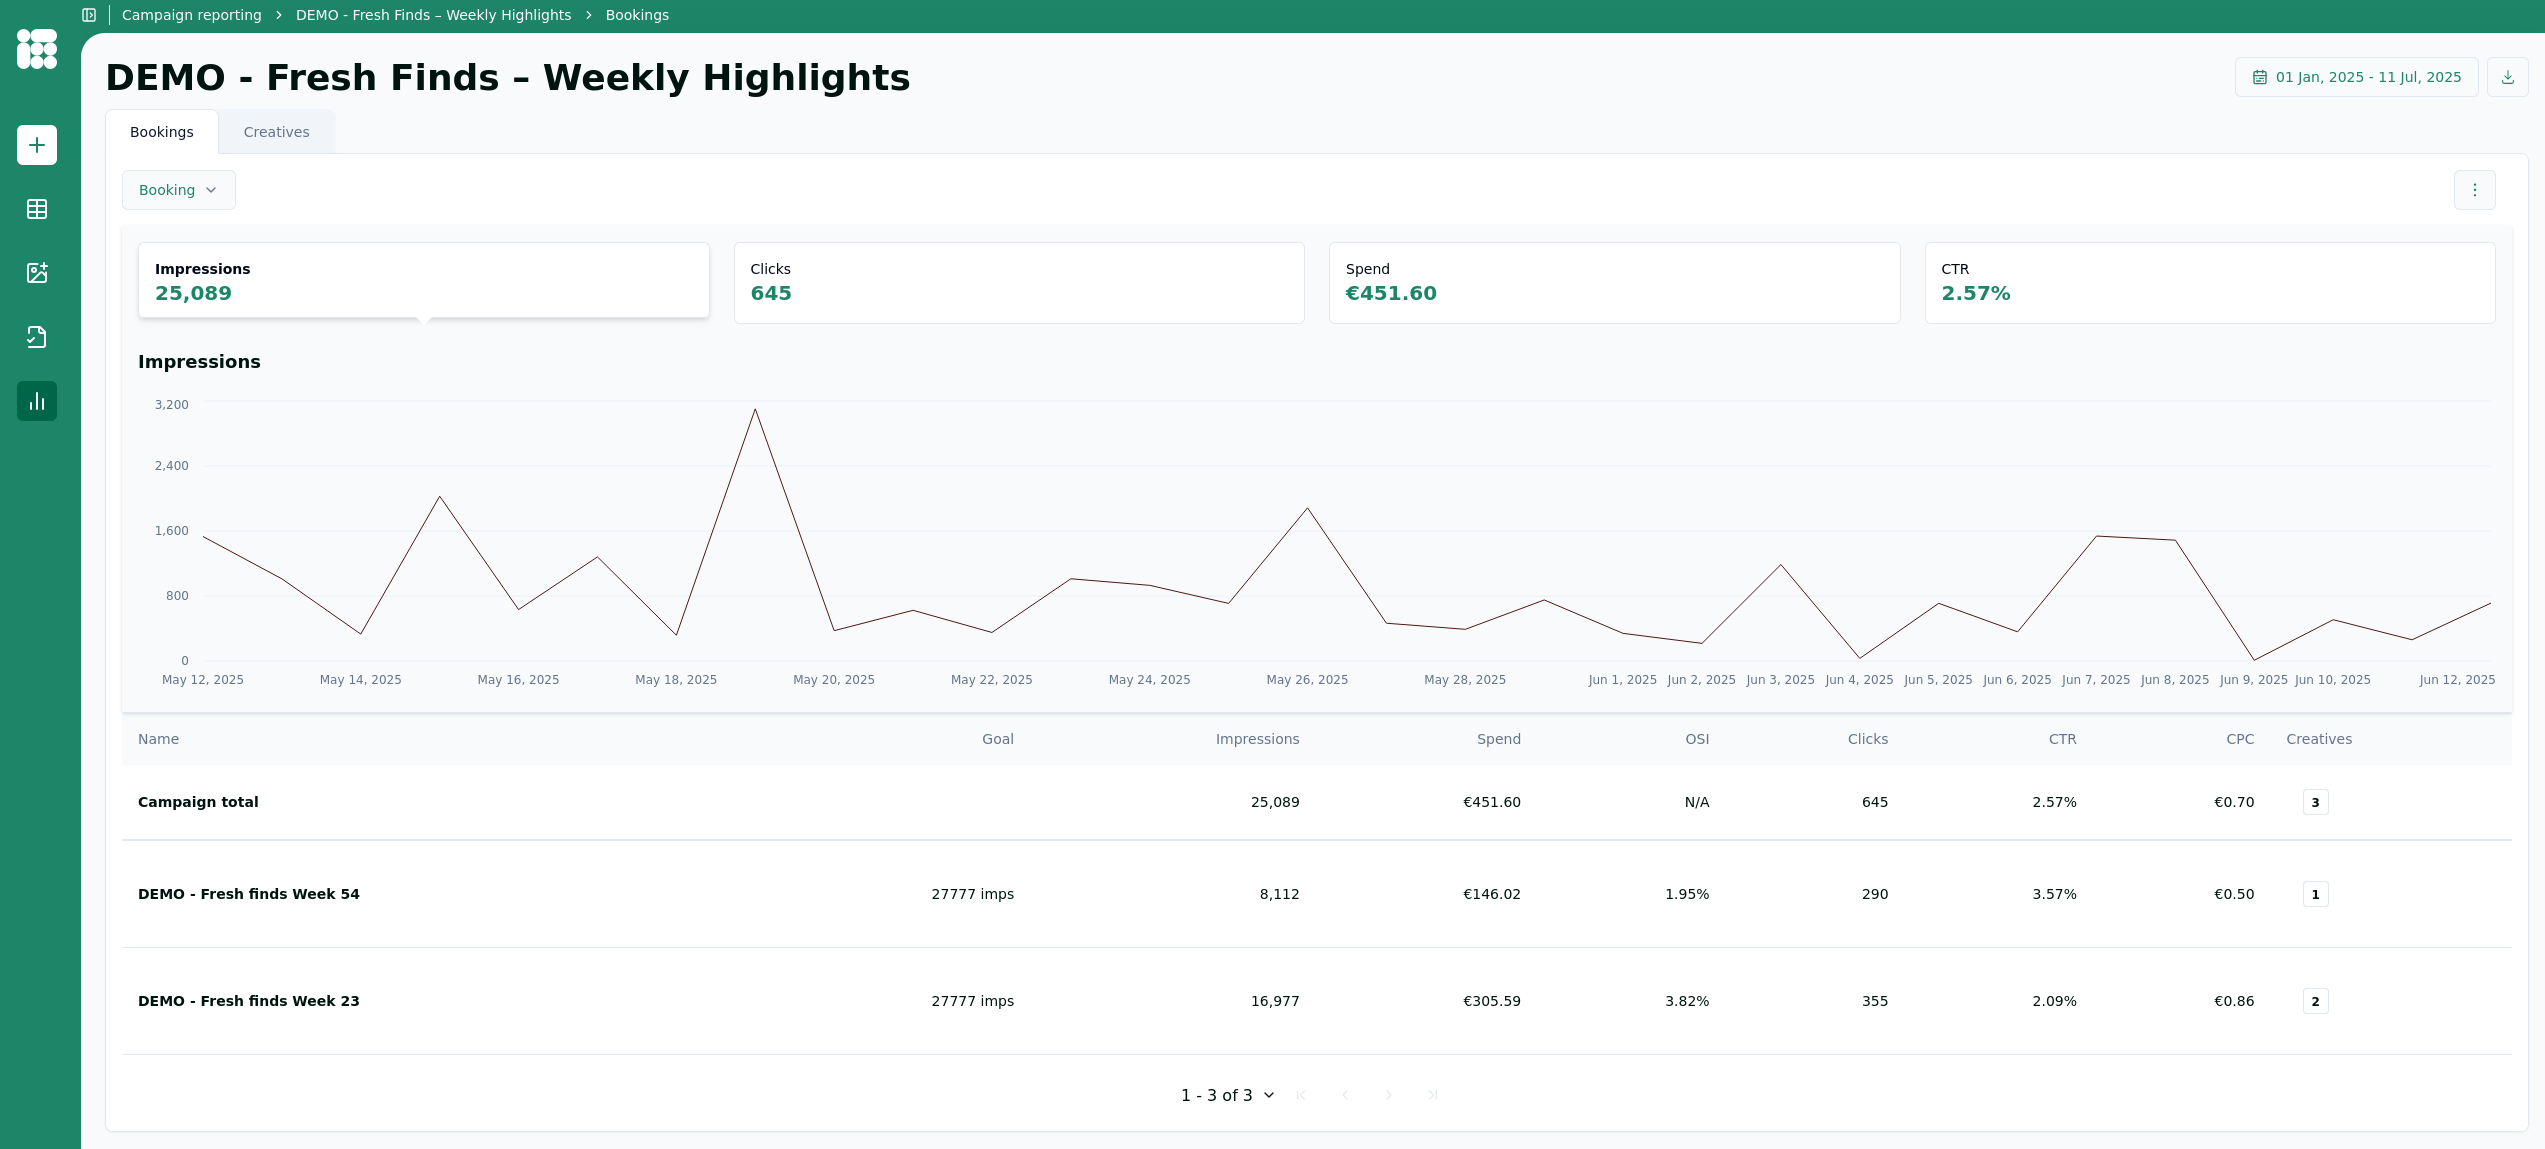
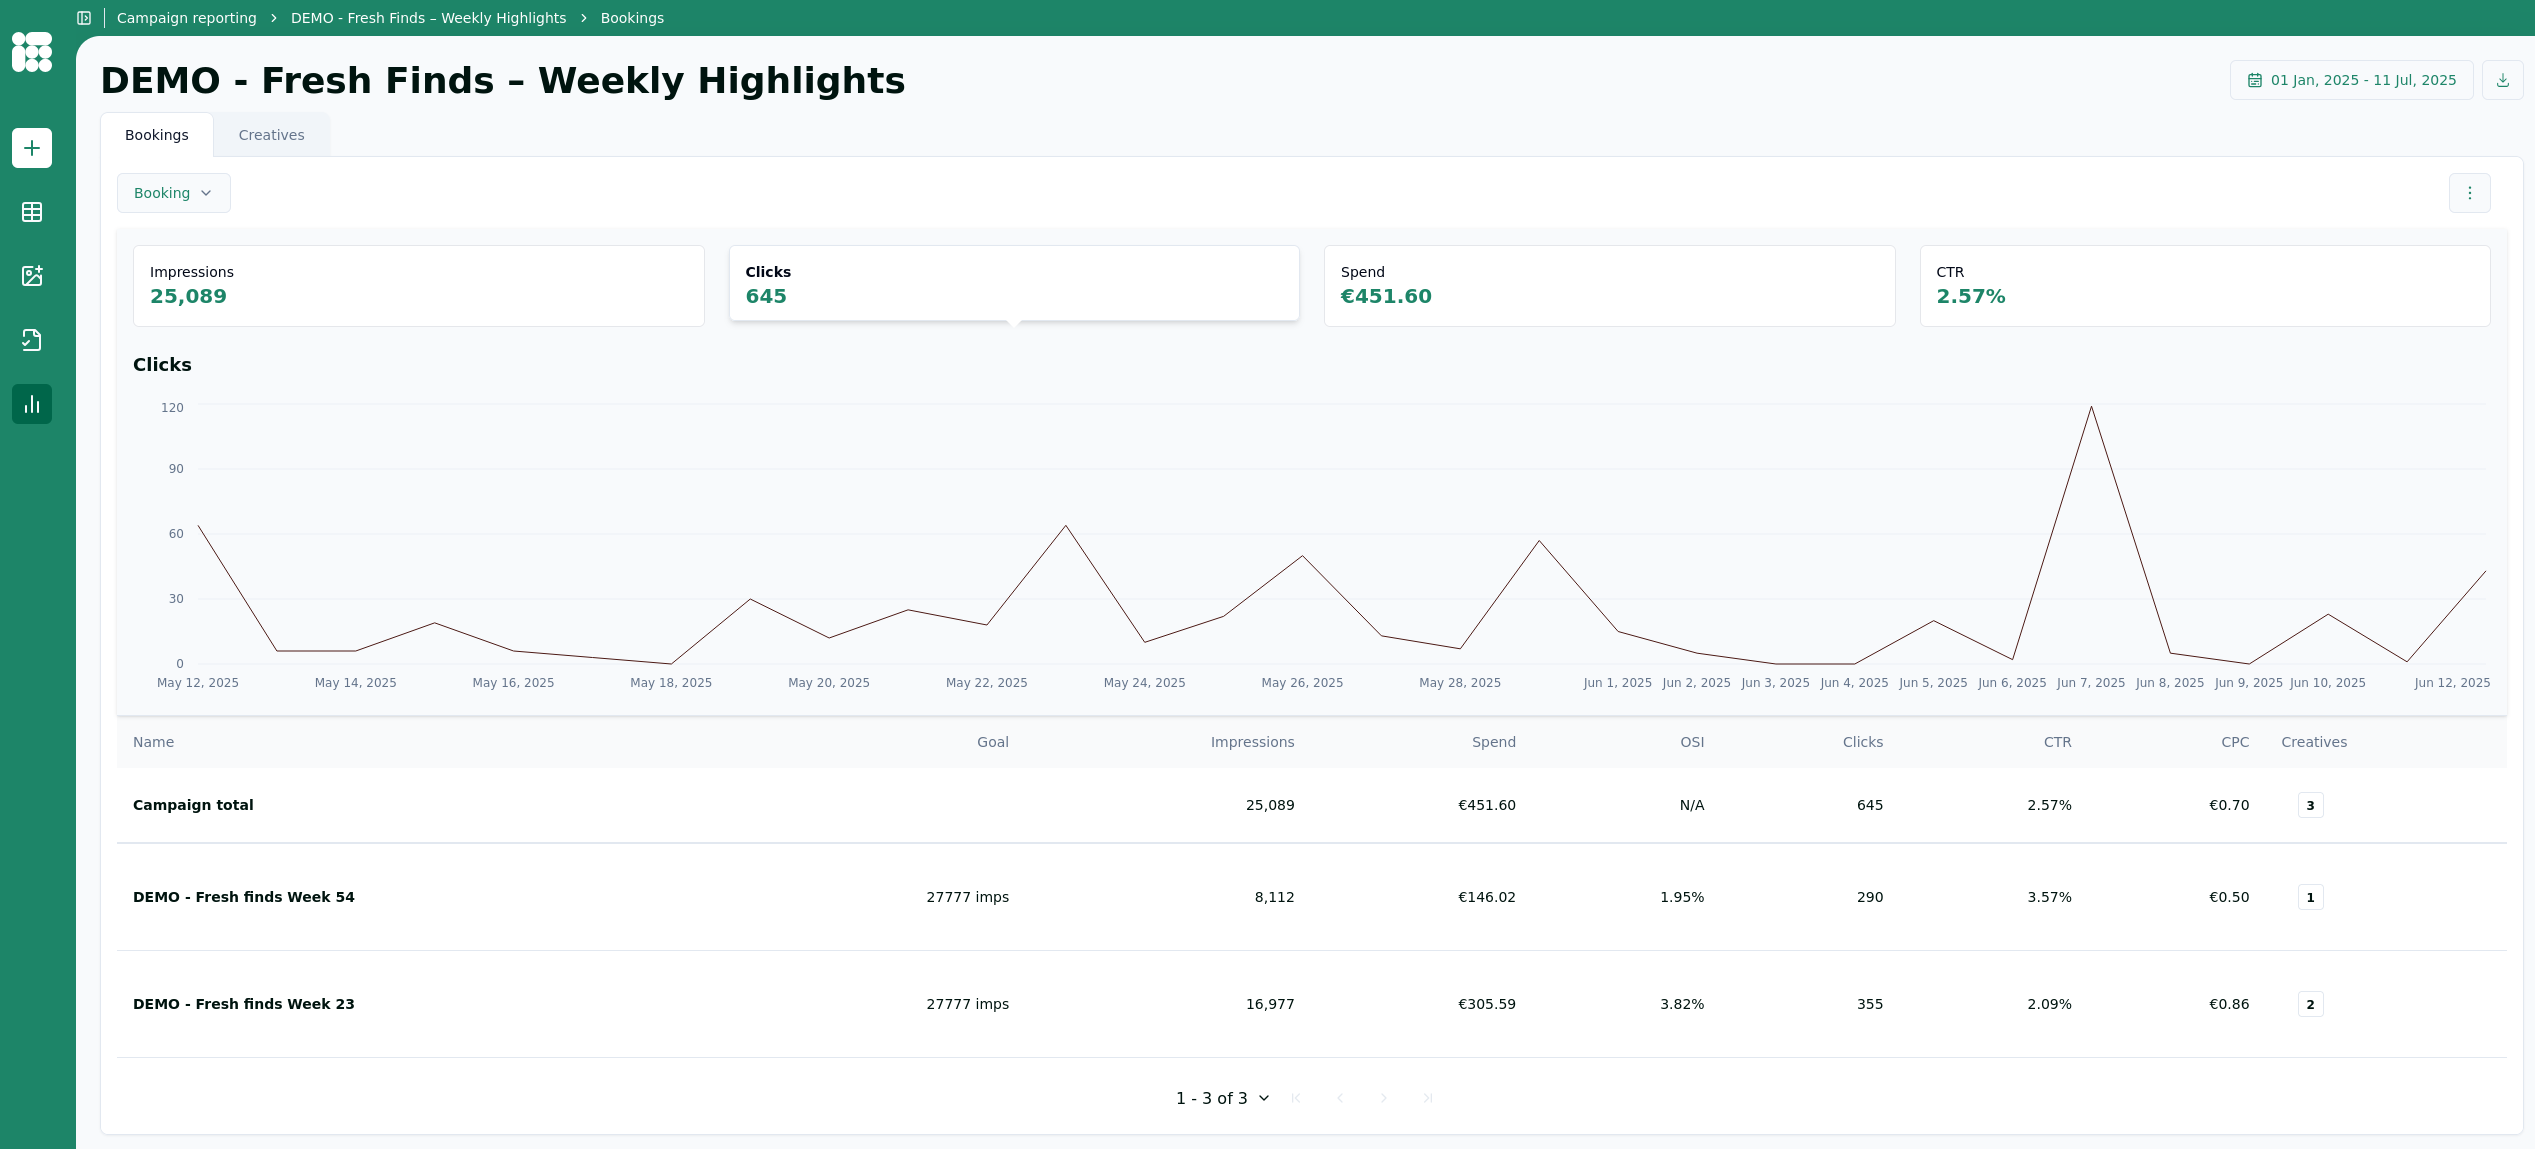
From top to bottom, we have:
- The booking filter lets you view the performance of one or multiple bookings
- Campaign metrics can be selected to generate a graph for a specific metric
- The graph is based on the currently selected metric
- Metrics are listed first by campaign totals, then by booking
You can select other metrics to get a graph based on that metric. In this case, clicks:
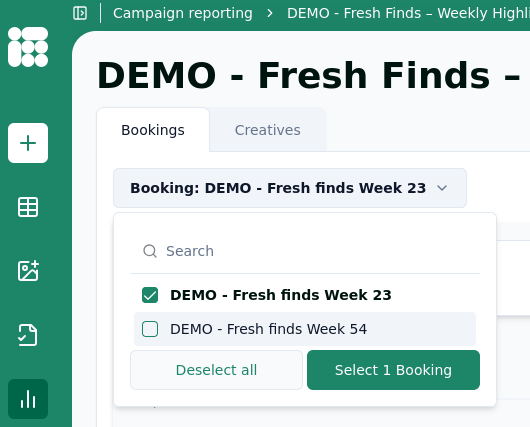
On the booking selection screen, you can select one or multiple bookings to get results for only those specific bookings.
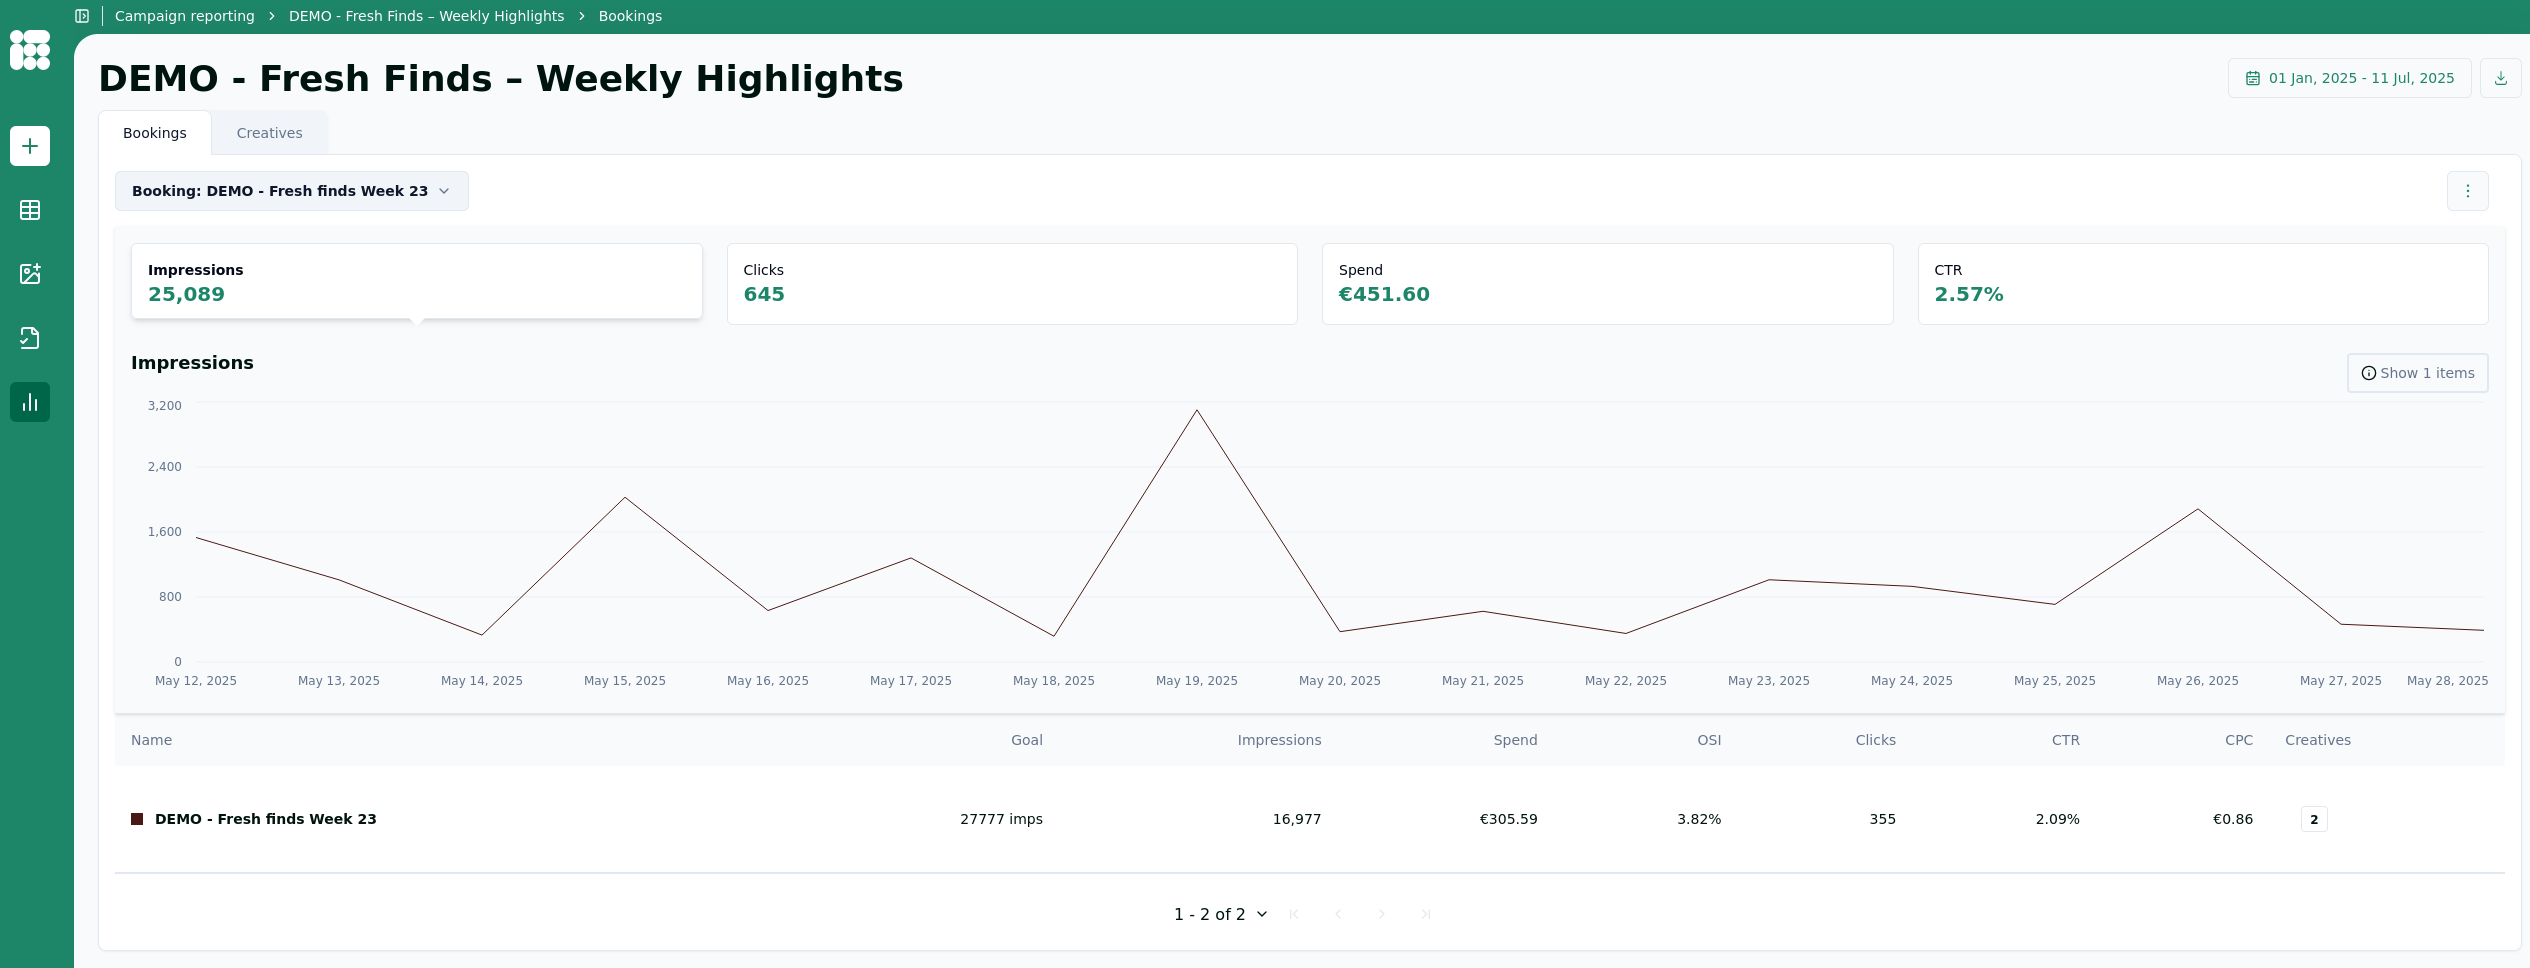
In addition to the Campaign/booking report, you can select reports based on creatives by clicking on the Creatives tab under the campaign name:
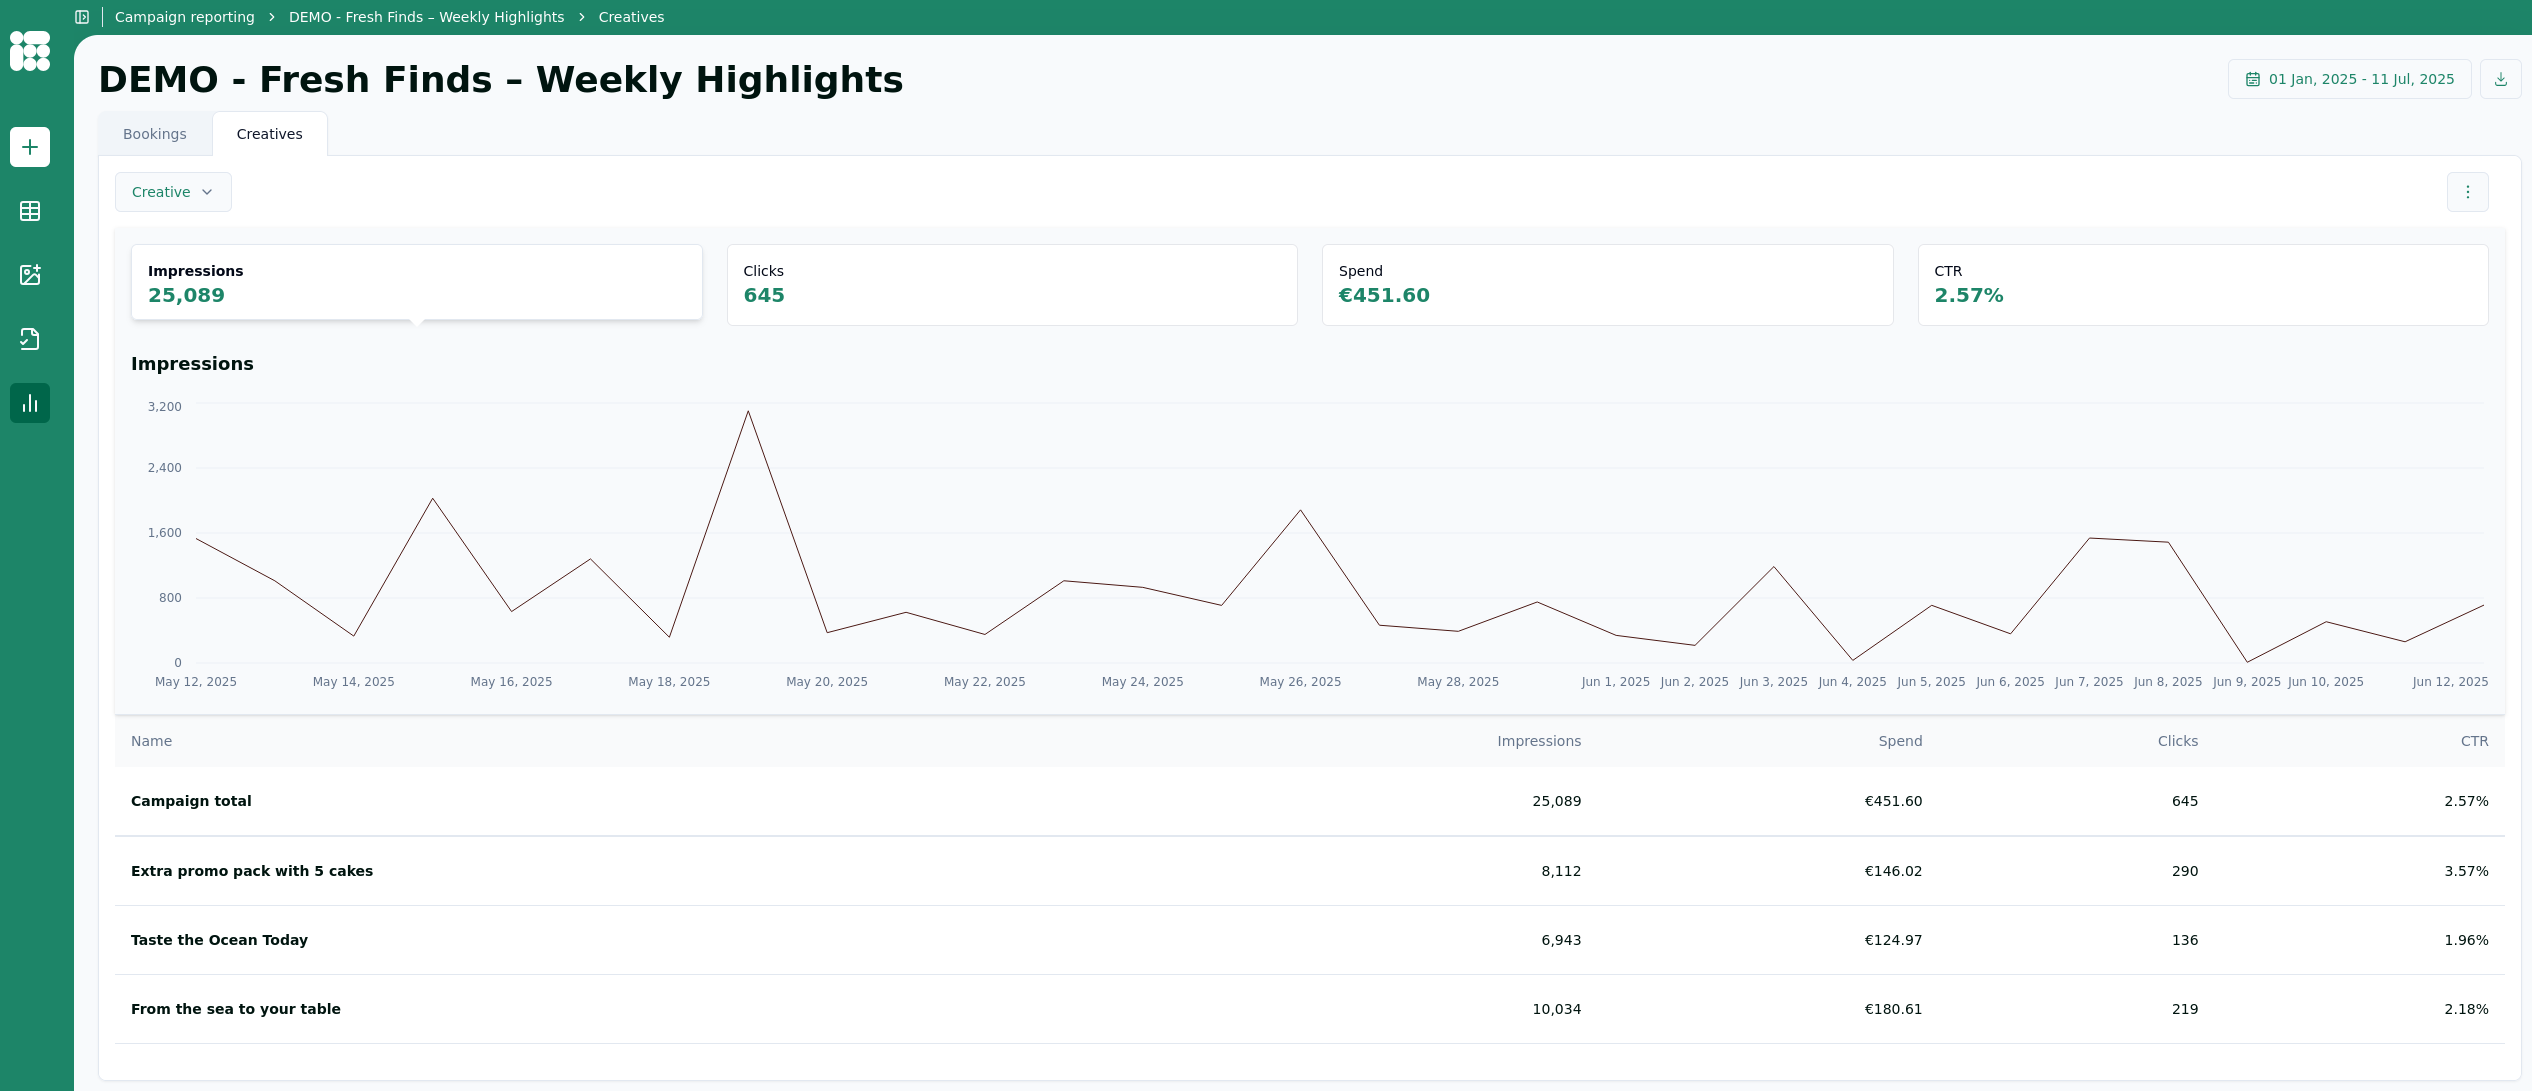
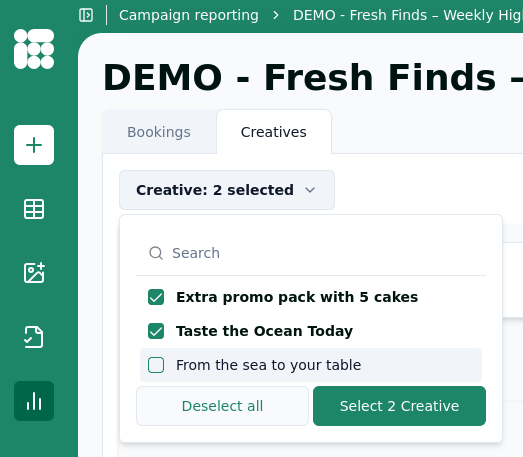
The creatives report is structured similarly to the booking report. You can filter the report based on one or multiple creatives:
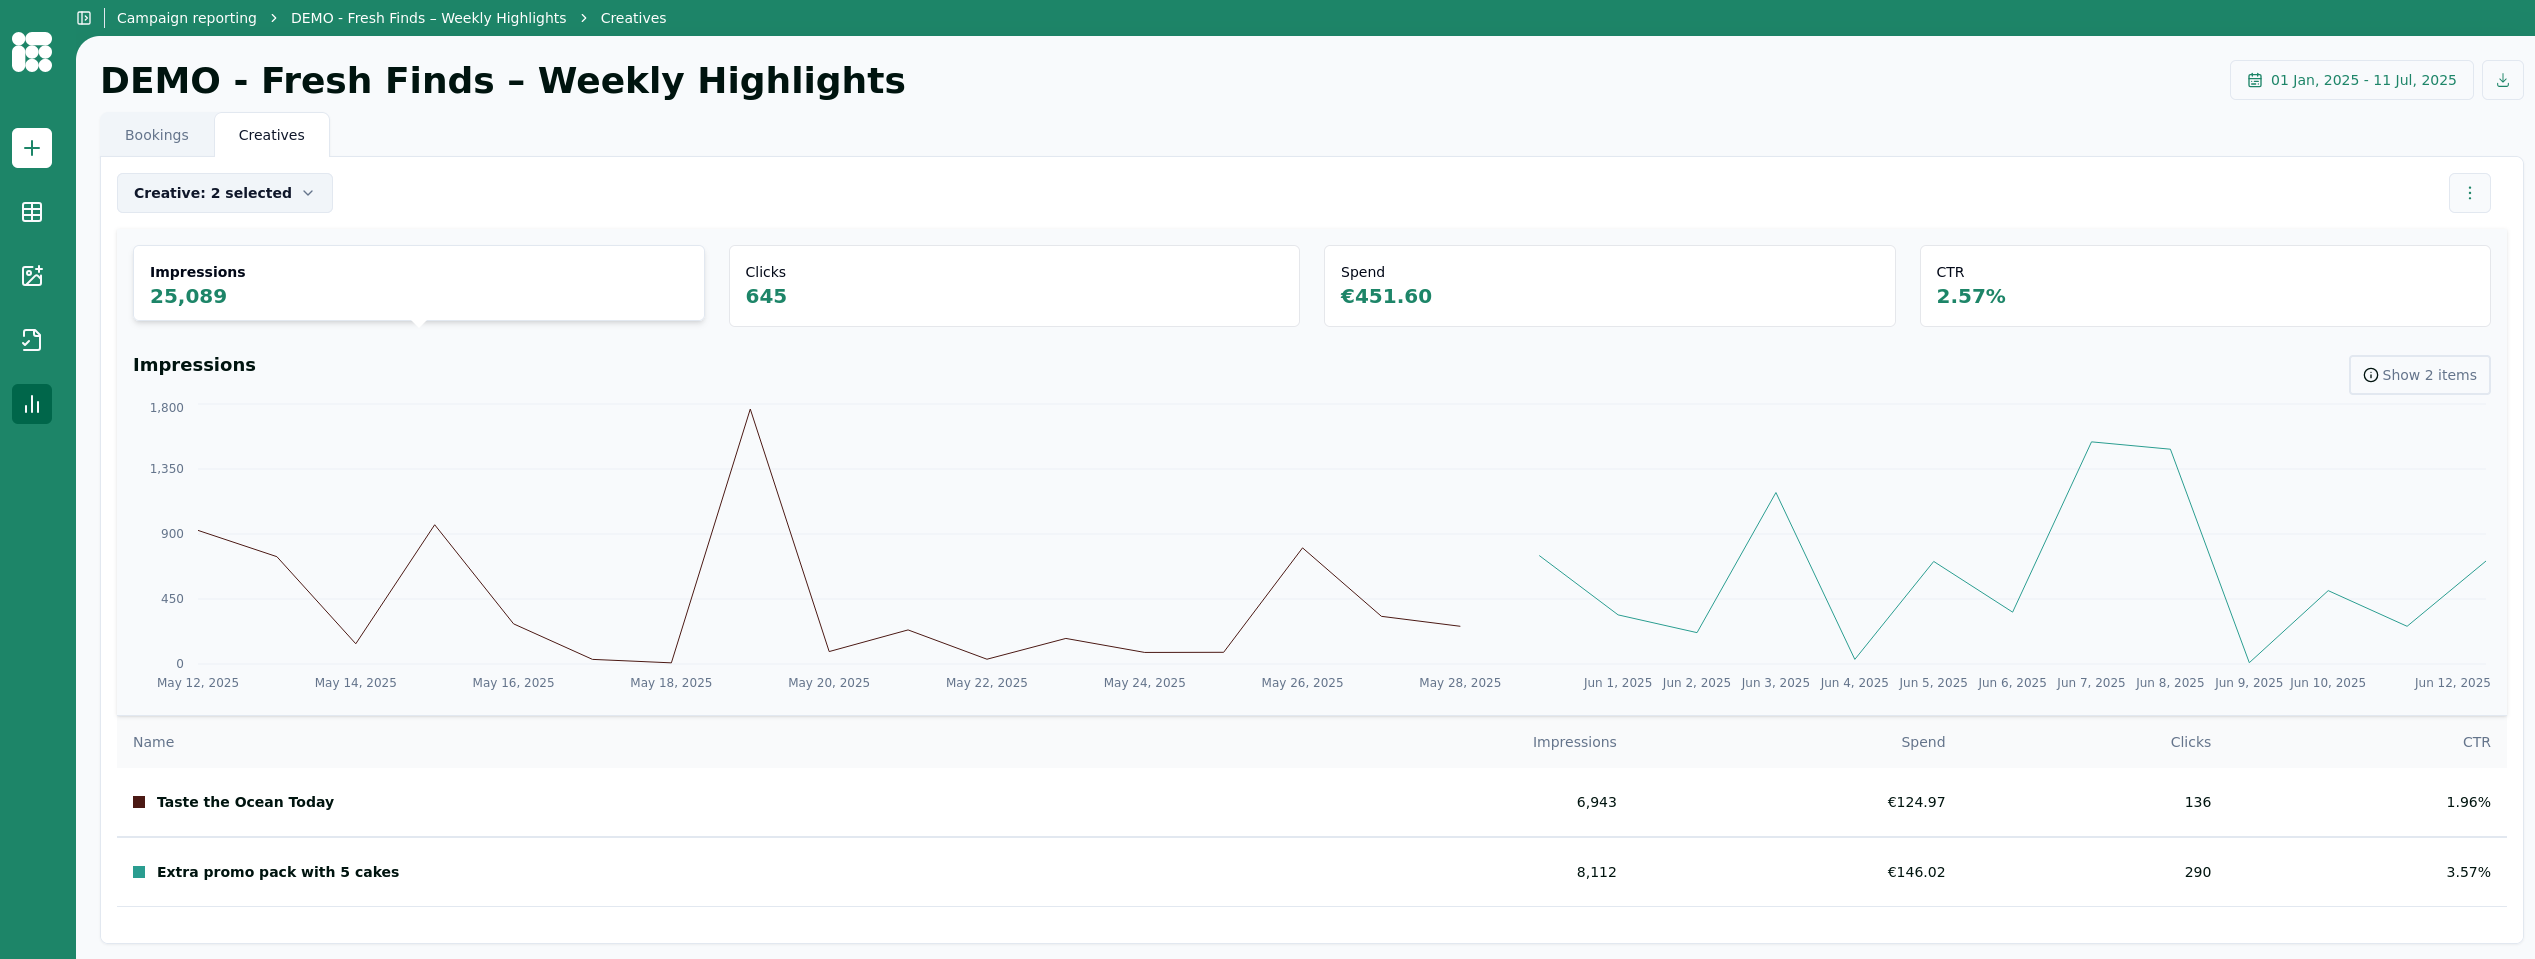
As shown above, when multiple creatives are selected, the graphs are split by creative.
No comments to display
No comments to display